
How to refresh your render
Render looking a little worn? Revive your render surfaces and give it the Dulux treatment for a fresh near-new look.
Follow 2 easy steps to get you started.
How To Guides
See how it’s done
Step-by-step guide
Understanding
First you need to understand what is the condition of the surface that you’re dealing with. Using a sharp blade cut an X in your existing surface and cover with tape. If paint comes away when the tape is ripped off then it’s unsound and needs to be completely removed.
Filling
Bigger cracks and holes will need to be filled with exterior grade render filler.
Cleaning
To clean your wall, remove any white salts with a 5% solution of white vinegar. For moss or mould, wash the wall with a bleach solution or demossing chemical. Once dry, make sure you mask any surface you don’t want to paint and use drop sheets to cover any plants you may be painting around.
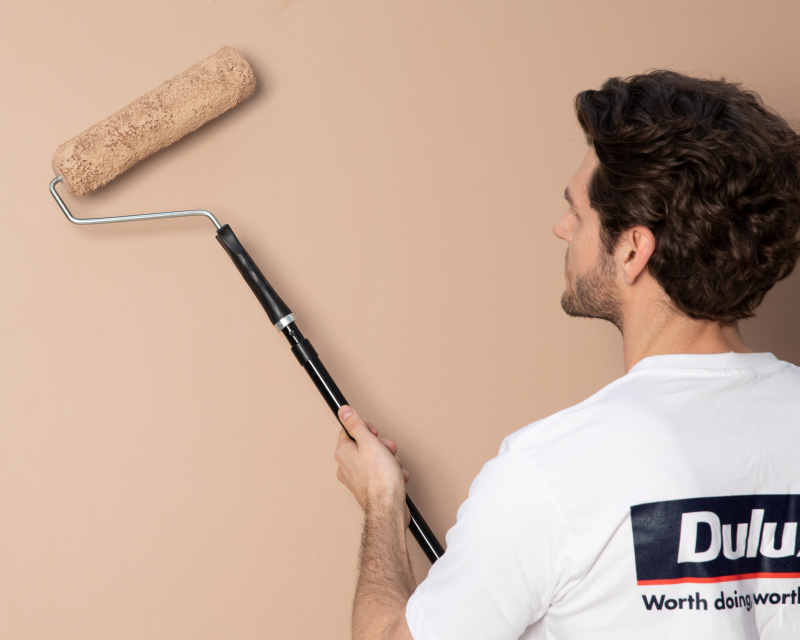
Painting
Now you’re ready to start painting with Dulux Weathershield® Render Refresh. Start by using your brush to cut in around the edges. Then paint the rest of the surface with the roller, starting from the top corner in smooth up and down strokes.
TIP: To get an even tint when using multiple cans, pour half of the second can into the first after you’ve filled your paint tray and continue this across all cans.
Laying off
When painting your second or final coat, lay off your paint every 2-3 metres. Making sure you maintain a wet edge, roll the roller down the wall from top to bottom, making sure to overlap it slightly.
Leftover paint
And you’re done! Don’t forget to turn your leftover paint into hard waste with Dulux® ENVIRONSOLUTIONS® Waste Paint Hardener.
Help & Advice
Make confident decisions about your project needs with support from our wide network of painters or speak to one of our Help & Advice consultants now.

Help & Advice
Want to change but don’t know where to start? Dulux Help & Advice are expert consultants who can help you with colour advice, product selection and application, everything you need for your next paint project.
Contact Help & Advice-->