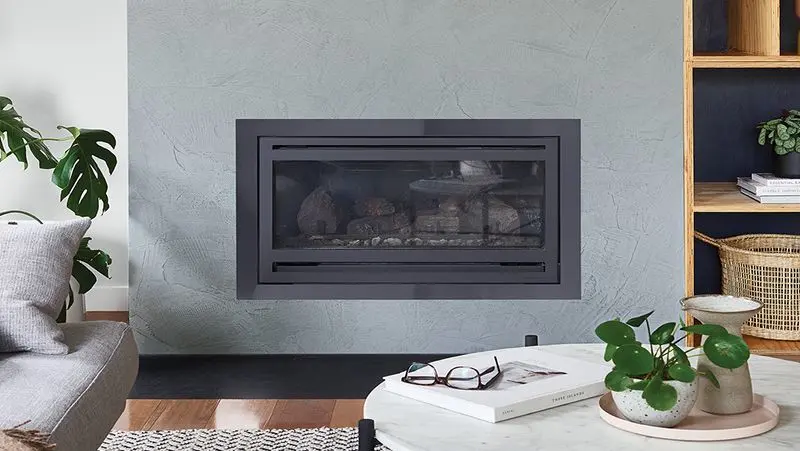
Take on your lounge room
The lounge room is where living happens. It needs to be a friendly and warm place for everybody and all surfaces need to withstand the wear and tear of everyday life. A colour refresh and the use of Dulux Design Concrete Effect, could just make the difference.
Follow 4 easy steps to get you started.
Featured colour
Milton Moon, Lexicon® and Lexicon® Quarter
This project is uses:
Milton Moon-->
Step-by-step Walls with Dulux Wash&Wear® Low Sheen
Preparation
Follow the preparation steps on the back of the can. Dulux® 1Step® Prep can be used for a prep coat (in Western Australia we suggest PRECISION® Sealer Binder).
Cutting in
Using Wash&Wear Low Sheen, start by cutting in around the edges of the wall with a brush. These are areas the roller cannot easily reach.
Load roller
Using a 9mm or 12mm nap synthetic roller, load roller in the tray with a reasonable amount of paint.
Rolling the wall
Start rolling the wall in an ‘M’ pattern. Start closest to the natural light source. Continue over the same section until the wall is evenly covered.
Unloaded roller
Using an unloaded roller begin in the top left corner of your wall and gently let the roller roll down to the baseboards in a straight line with no pressure. A lightness of touch will prevent new roller marks from forming. Repeat this action, only this time slightly overlap your last movement so your roller rubs away the line created by the previous stroke. Continue this across the area you have painted. This is called laying off.
Reload
Reload your roller and repeat until the wall is complete.
Repeat
Allow the first coat to dry and repeat the total process again with a second coat.
Step-by-step Feature wall with Dulux Design Concrete Effect
Follow the instrucions
Carefully read and follow the instructions on the product label before you begin.
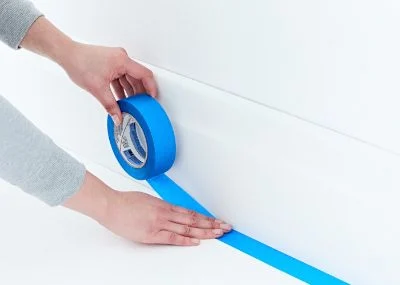
Taping
Mask off the area with painters tape – where you don’t want any paint, such as adjacent walls.
Stirring
Stir Dulux Design Concrete Effect well with a paint stirrer using an up and down scooping action. Make sure you scrape the bottom of the can to ensure particles are evenly distributed.
Practice
Practice your application technique on a large, spare piece of board.
Work in
Work in small sections. Use a 14-18mm nap synthetic or mohair roller to apply to the wall.
Smooth the surface
Smooth the surface with a steel trowel with broad, sweeping strokes, holding the trowel at a 60° to 80° angle. Be sure to keep the working edge of the trowel clean by wiping paint build up with a damp cloth.
Repeat
Repeat this process over the entire wall, overlapping sections as you go. Allow at least two hours between coats.
Apply
Apply three coats using the same process.
Allow to dry
Allow final coat to dry for at least two hours, no longer than 24 hours, before polishing.
Using sandpaper
Using 600 grit sandpaper, lightly polish the surface in a circular motion.
Further polish the surface
Use the edge of the trowel to further polish the surface. Apply enough pressure to keep the trowel edge flat against the surface. Be careful not to gouge the surface with the edge of the trowel.
Dust the surface
Dust the surface with a soft cloth to remove the sanding residue.
Here's what you'll need to get started:
Colour & Paint
Tools & Accessories
For walls use a high quality synthetic brush for cutting in and 9mm or 12mm nap synthetic roller
For concrete feature wall use 14-18mm nap synthetic or mohair roller and a steel trowel.
Paint pot – for cutting in
Roller tray
Roller extension pole
Drop sheets
Painter's tape
Cloth
600 grit sandpaper
How to guides

How to choose the right interior paint
Before you get to what colour and how much paint you need, you first need to find the right type of paint for your walls. Take a look at this guide for things to consider before painting.

Repainting interior and weather-affected surfaces
Your guide to product selection for repainting interior and exterior weather-affected surfaces.
Prepare interior surfaces
Nothing beats a great paint job, especially one you’ve done yourself. Give yourself the best chance at success by following these instructions.
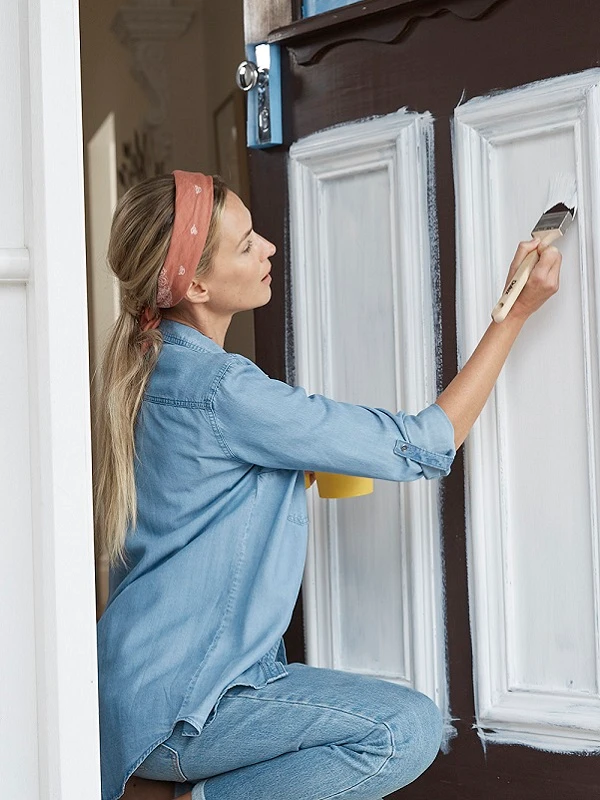
How to paint doors and trims
Create a welcoming entrance to any room of the house with the right tools and techniques for the job.
More interior projects to inspire
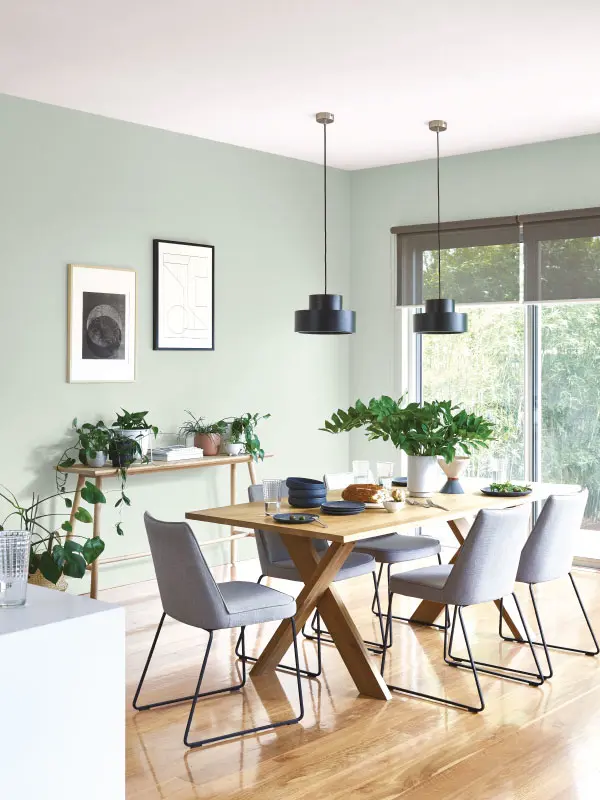
The Dining Room
A room where memories are made. Create a beautiful, and relaxed open space in your home with a splash of colour.

The Bedroom
Choosing a colour scheme with style and comfort is easier than you think – all you need is a little inspiration.
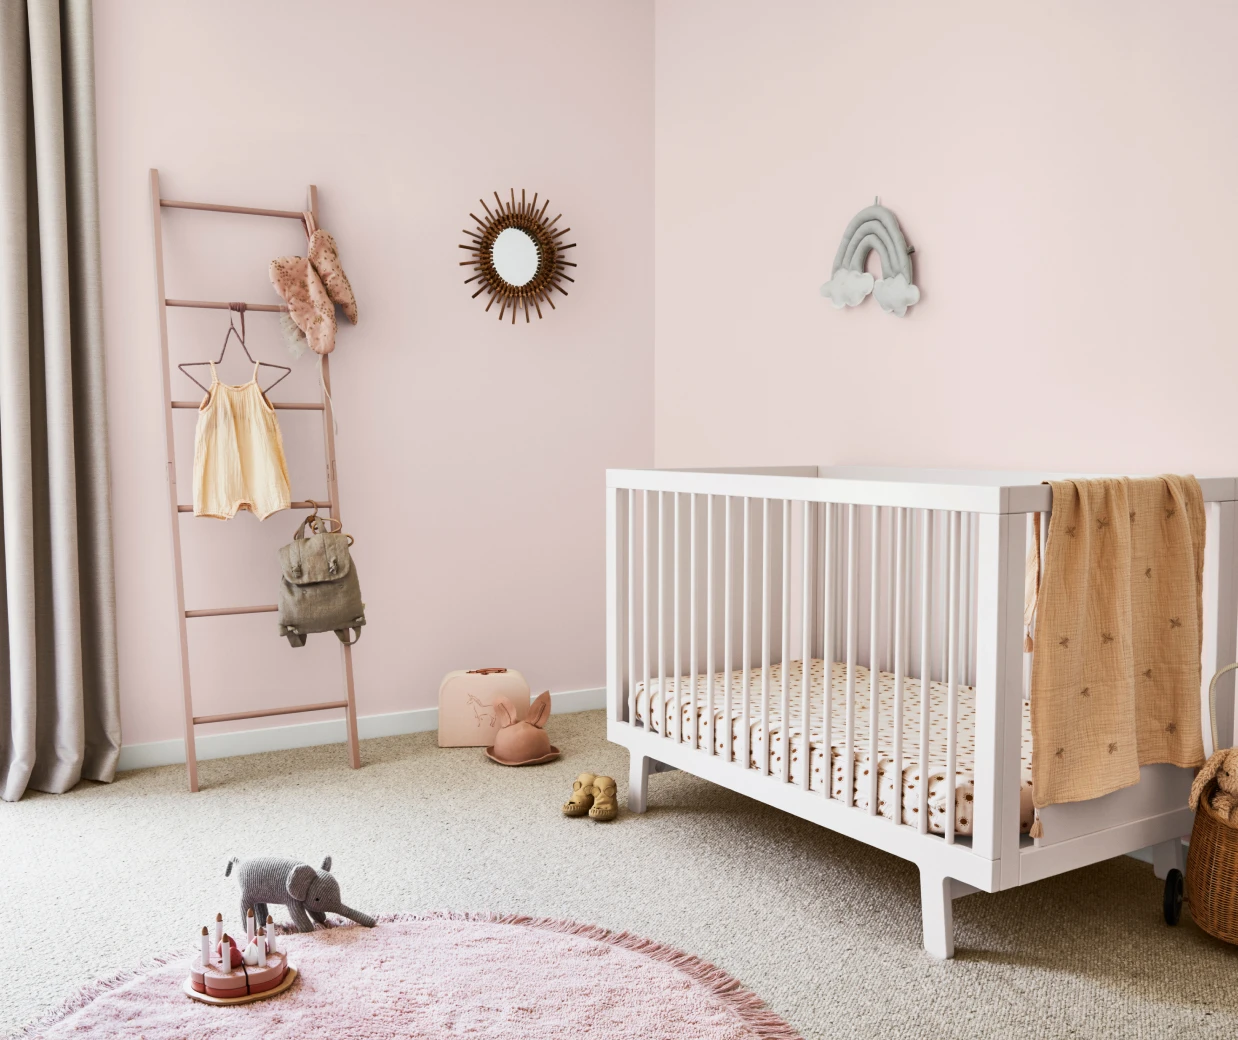
Create your dream nursery
Choosing a colour scheme with style and comfort is easier than you think – all you need is a little inspiration.