Take on your hallway
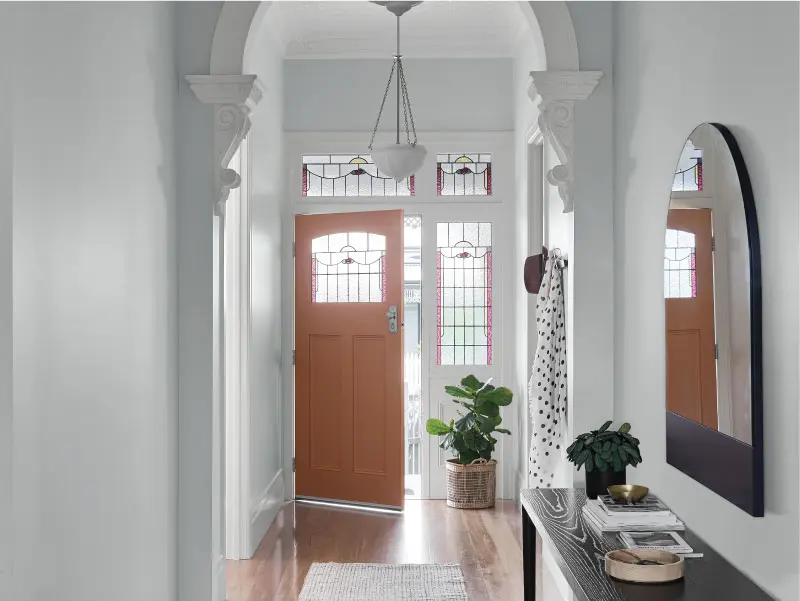
Make a great first impression to welcome your guests, with a fresh entrance and hallway. A splash of new colour on the walls or a bold colour on the front door will make all the difference.
Follow 6 easy steps to get you started.
Featured colours
Italian Clay, Lexicon® and Lexicon® Quarter
This project is uses:
Italian Clay-->
Step-by-step Ceiling with Dulux Ceiling White
Preparation
Follow the preparation steps on the back of the can.
Clean
Begin by cleaning your ceiling. Remove cobwebs with a clean broom and wash the area with Selleys® Sugar Soap.
Tape around
Tape around cornices, edges and any down lights.
Paint vertical
Using Dulux Ceiling White and a 11mm nap synthetic roller, paint just like a vertical wall, begin by cutting-in where the roller won’t reach. Using a paint brush, paint around down lights and edges to create a border.
Roll evenly
Once you’ve loaded your roller evenly, begin in one corner and move fluidly in a parallel motion. For best results, work in 1 metre sections painting across and then down. Roll as far into the previously brushed sections as possible.
Lay off
While the paint is still damp, begin laying off the paint. This is a crucial step in achieving a smooth and consistent finish. To lay off: Using an unloaded roller, begin in the top left corner of your ceiling and gently pull towards you in a straight line with no pressure.
Lightness touch
A lightness of touch will prevent new roller marks from forming. Repeat this action and slightly overlap your last movement so your roller rubs away the line created by the previous stroke.
Two coats
If your ceiling requires two coats, wait two hours for it to dry and then repeat steps 4 to 7.
Step-by-step Walls with Dulux Wash&Wear® +PLUS Anti-Scuff Low Sheen
Preparation
Follow the preparation steps on the back of the can. Dulux® 1Step® Prep can be used for a prep coat. (In Western Australia we suggest PRECISION® Sealer Binder)
Clean
Using Wash&Wear® +PLUS Anti-Scuff Low Sheen, start by cutting in around the edges of the wall with a brush. These are areas the roller cannot easily reach.
Load roller
Using a 9mm or 12mm nap synthetic roller, load roller in the tray with a reasonable amount of paint.
‘M’ pattern
Start rolling the wall in an ‘M’ pattern. Start closest to the natural light source. Continue over the same section until the wall is evenly covered.
Unloaded roller
Using an unloaded roller begin in the top left corner of your wall and gently let the roller roll down to the baseboards in a straight line with no pressure. A lightness of touch will prevent new roller marks from forming.
Laying off
Repeat this action, only this time slightly overlap your last movement so your roller rubs away the line created by the previous stroke. Continue this across the area you have painted. This is called laying off.
Reload
Reload your roller and repeat until the wall is complete.
Repeat
Allow the first coat to dry and repeat the total process again with a second coat.
Step-by-step Door with Dulux Aquanamel® Gloss
Preparation
Follow the preparation steps on the back of the can.
Light sand
If your door has already been painted with enamel, give it a light sand until the shine has become dull. Wipe off the dust.
Prime the door
Use Dulux 1Step® Prep to prime the door before applying a topcoat.
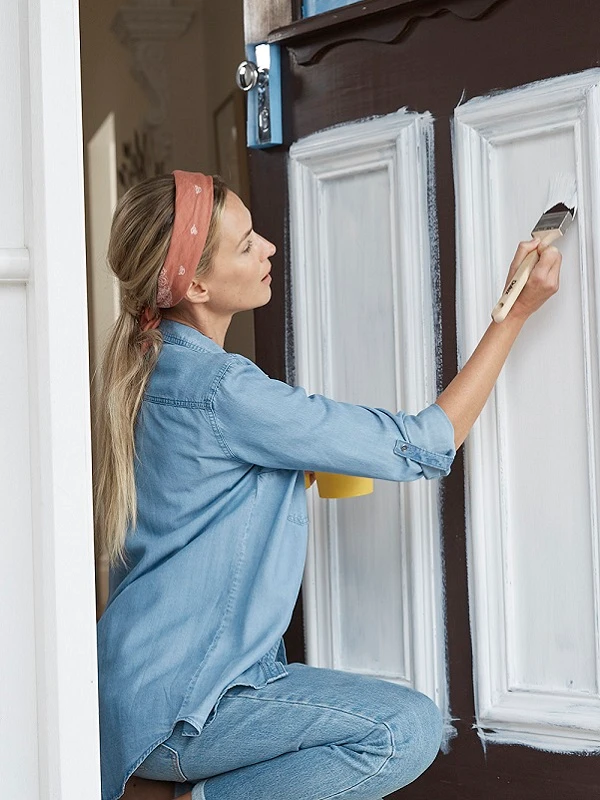
Front panel door
Then, using Aquanamel® Gloss and a high-quality synthetic brush, start painting the front panels of the door.
Fill in
Then, fill in the vertical sections between the panels. Followed by the horizontal sections at the top, middle and bottom. And finally, the outside panels.
Long brush stroke
Once you’ve completed an area, while paint is still wet, lightly smooth over the painted section with long brush strokes. Do not reload the brush when you do this, a few strokes should be enough to smooth the surface.
Light sand
Allow two hours to dry, then give the surface a light sand with 400 grit sandpaper.
Repeat
Repeat above steps for second coat.
Step-by-step Trim with Aquanamel® Gloss
Preparation
Follow the preparation steps on the back of the can.
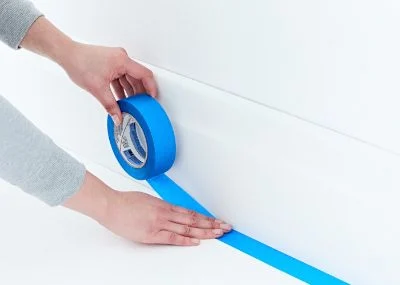
Taping
Begin by taping around the fireplace, window or trim with painter’s masking tape.
Cutting in
Using Aquanamel® Gloss, start by cutting in using a high-quality synthetic brush at the top and bottom of the edges of the trim, then finish off the middle.
Apply paint
Apply paint to the trim using short, horizontal brush strokes. Repeat the motion for about a metre.
Smooth over
Smooth over the painted section with long brush strokes. Do not reload the brush when you do this. Don’t brush it too much – a few strokes should be enough to smooth the surface.
Repeat
Repeat this process until complete. Allow to dry, then give the surface a light sand with 400 grit sandpaper and repeat for a second coat.
With windows it is recommended to paint the inner window sections first then move to the outer trim. And remember, always keep windows open as they dry and ensure to move them constantly to prevent them from sticking together.
Here's what you'll need to get started:
Colour & Paint
Select your preferred colour
Dulux Wash&Wear® gives you exact colour accuracy to create Dulux Authentic Colour® palettes that look fresh in your home for years.
Tools & Accessories
Paint pot (for cutting in)
Roller extension pole
How to guides

How to choose the right interior paint
Before you get to what colour and how much paint you need, you first need to find the right type of paint for your walls. Take a look at this guide for things to consider before painting.

Repainting interior and weather-affected surfaces
Your guide to product selection for repainting interior and exterior weather-affected surfaces.
Prepare interior surfaces
Nothing beats a great paint job, especially one you’ve done yourself. Give yourself the best chance at success by following these instructions.
How to paint doors and trims
Create a welcoming entrance to any room of the house with the right tools and techniques for the job.
More interior projects to inspire
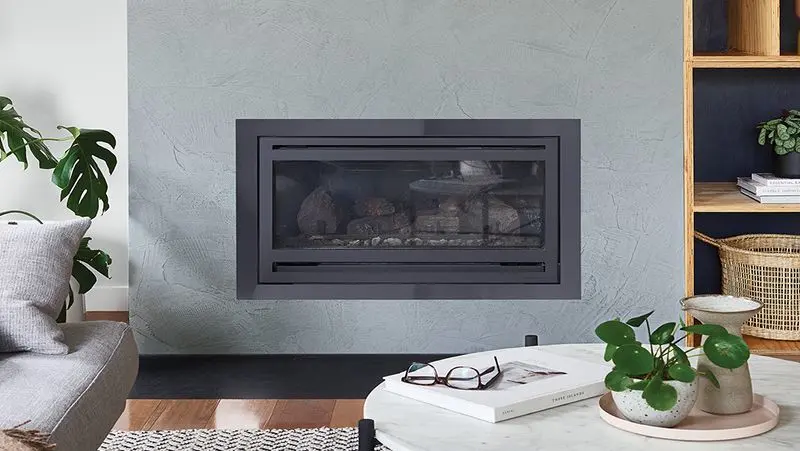
The Lounge Room
The lounge is where living happens. It needs to be a friendly and warm place for everybody and all surfaces need to withstand the wear and tear of everyday life.

The Bedroom
Choosing a colour scheme with style and comfort is easier than you think – all you need is a little inspiration.
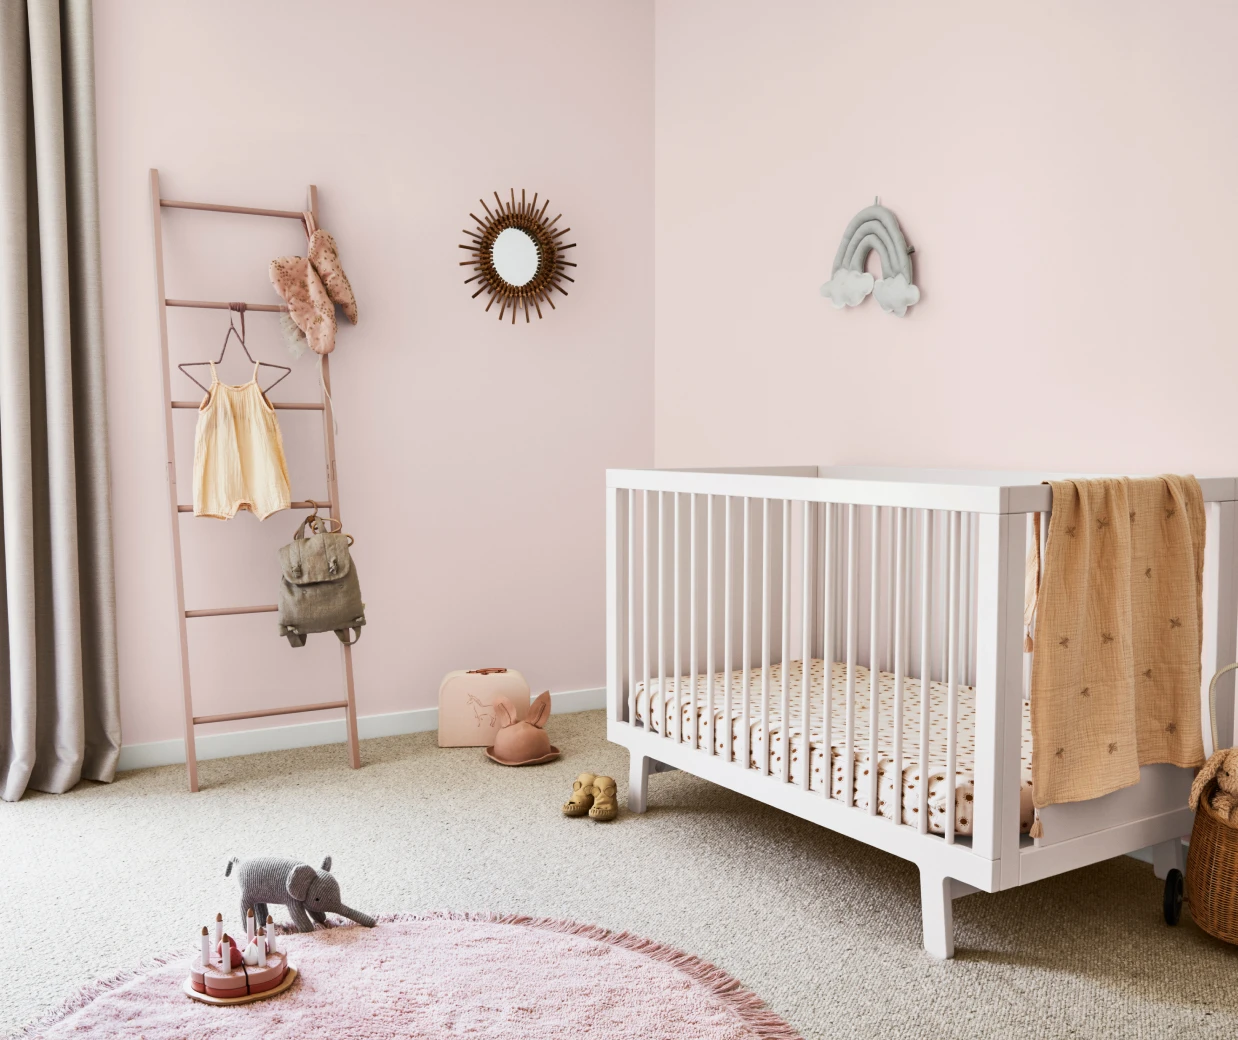
Create your dream nursery
Choosing a colour scheme with style and comfort is easier than you think – all you need is a little inspiration.
Don't risk tinting your favourite colours with other paint brands. Only Dulux pigments mixed into Dulux Wash&Wear® and Dulux Weathershield® are designed to create our iconic colours shown here every time.