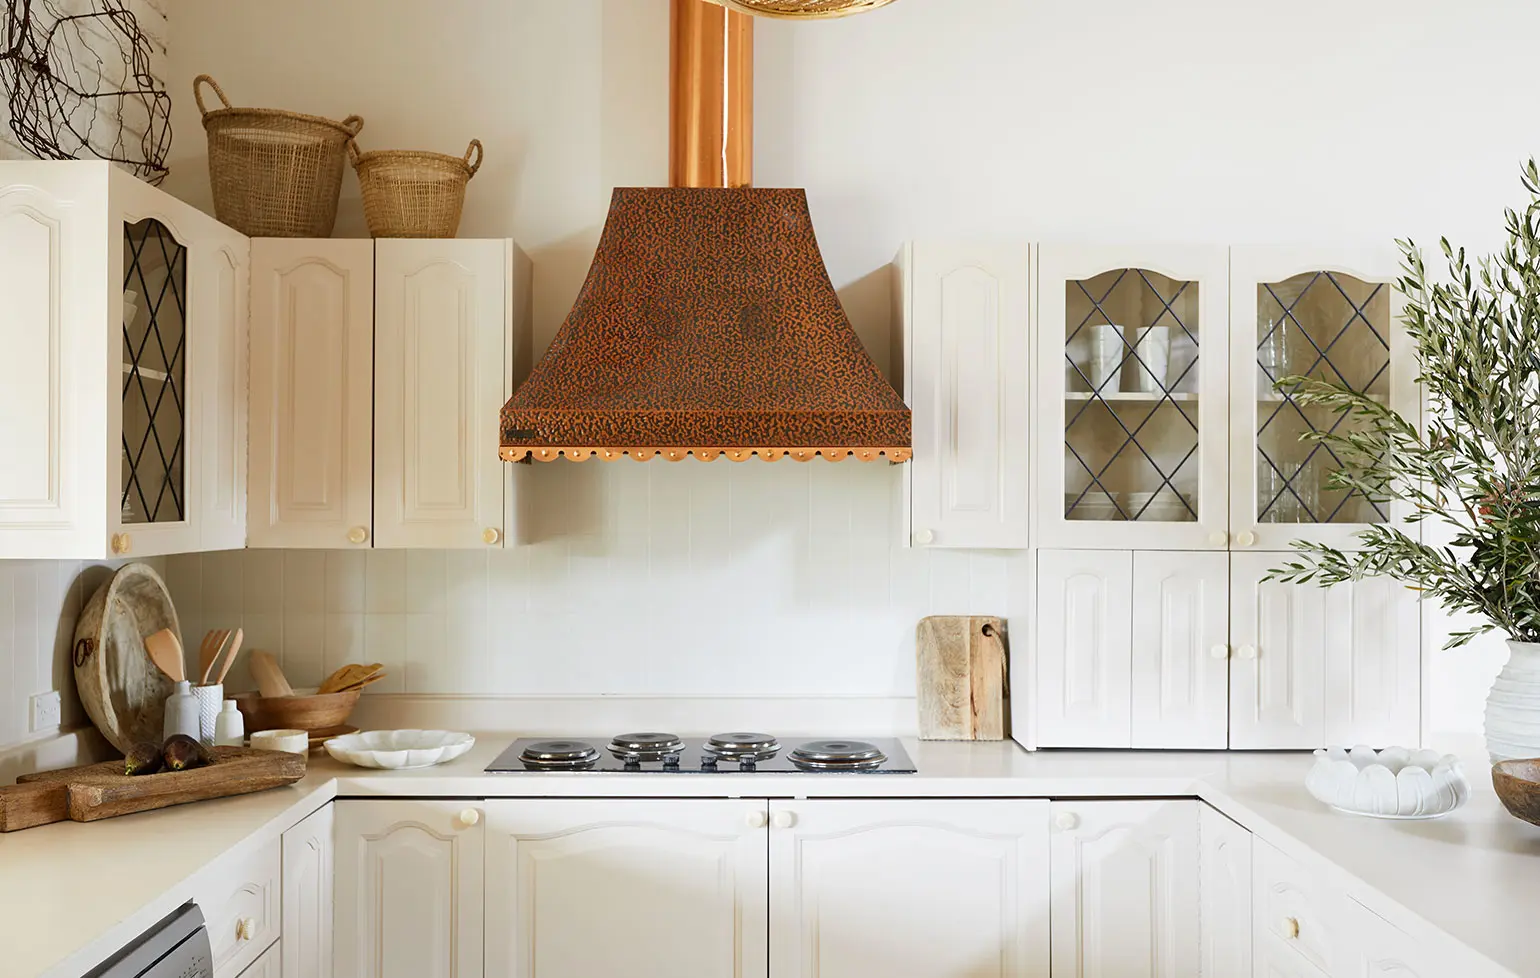
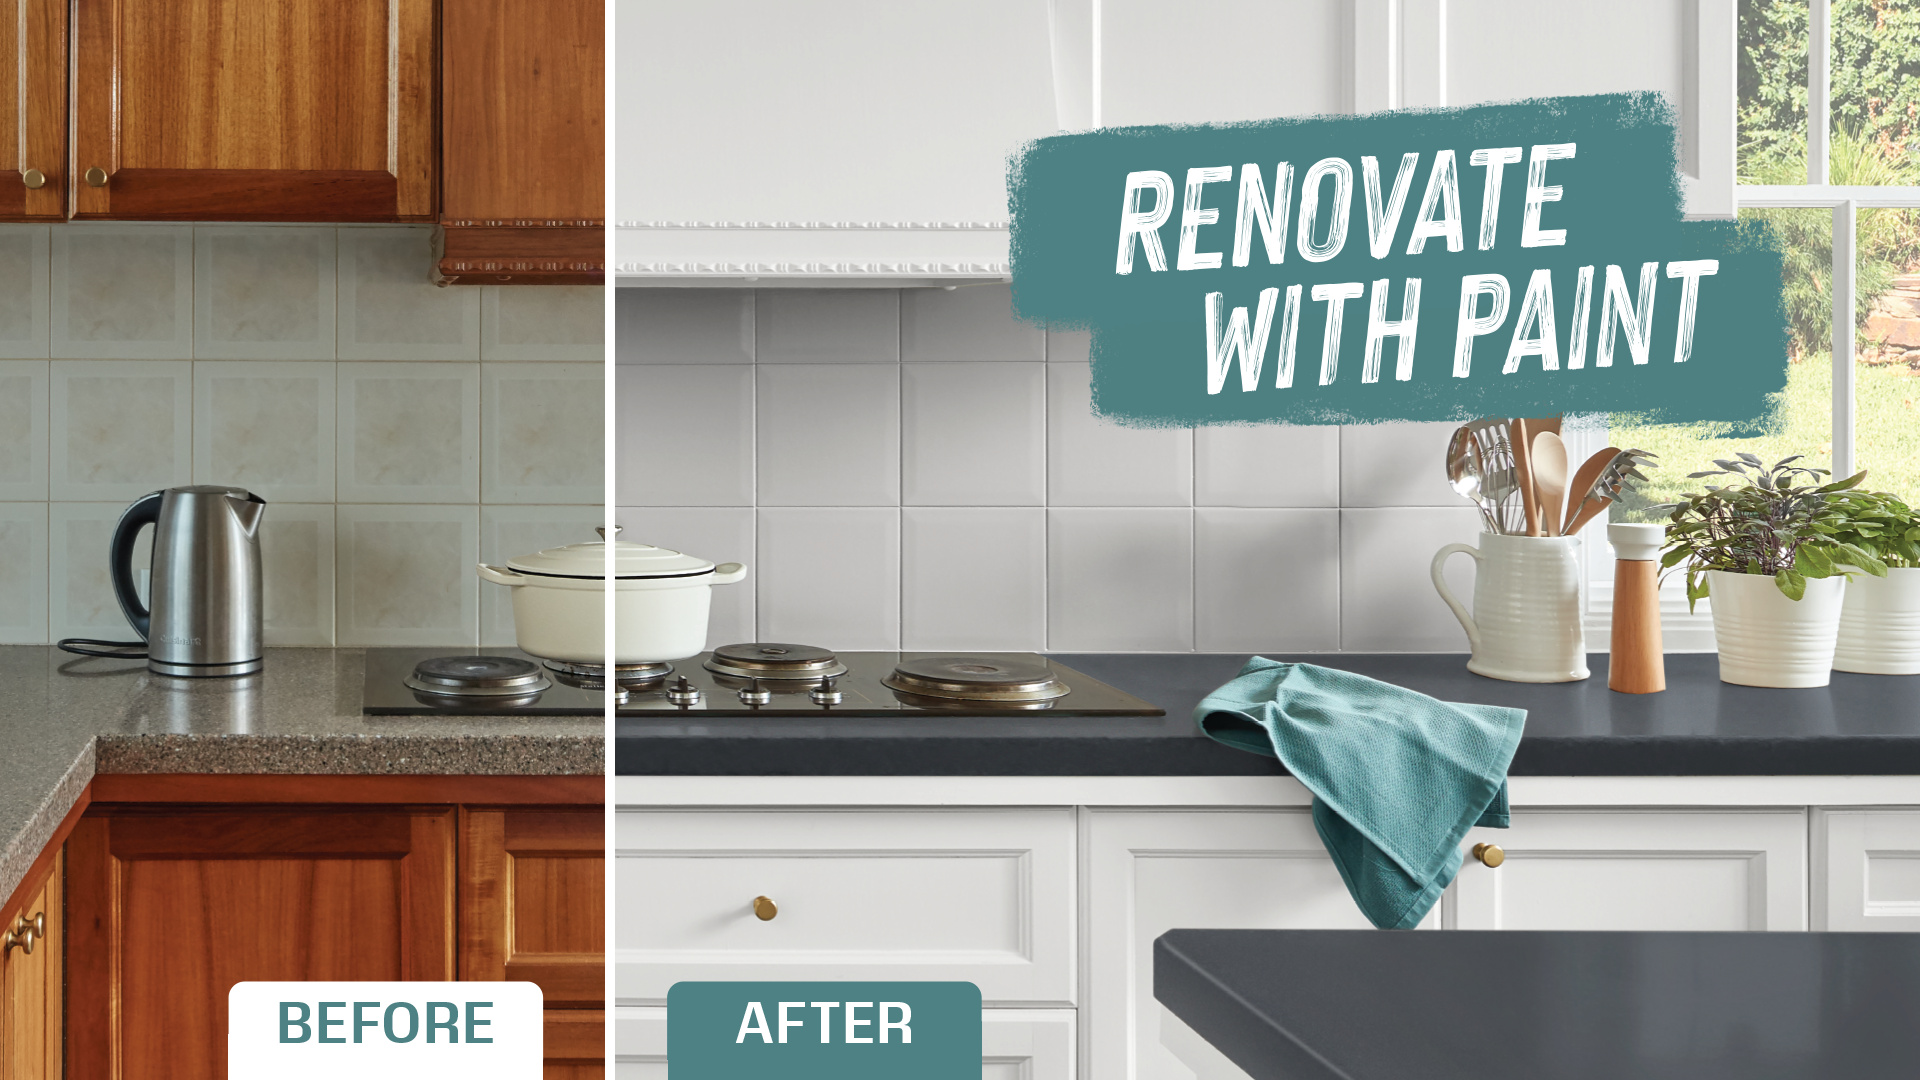
Transform your splashback
Give your splashback a fresh new look
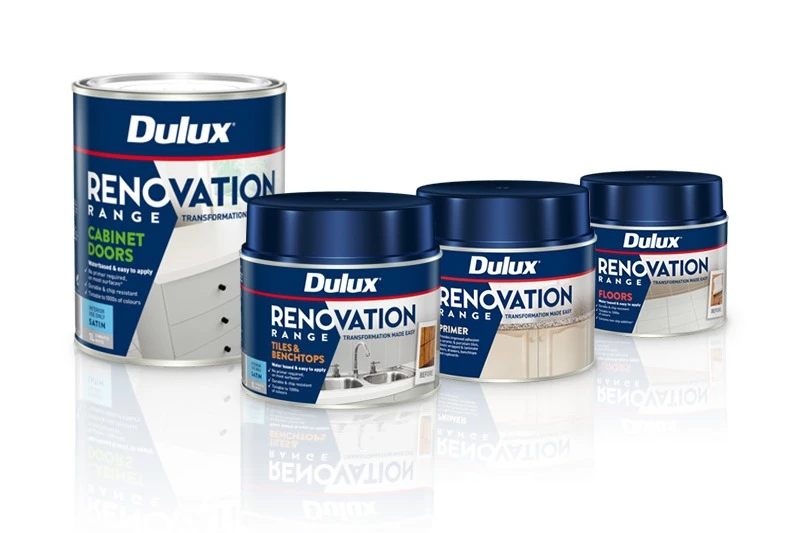
Is your splashback in need of a refresh? Suitable for a range of purposes, Dulux Renovation Range Tiles & Benchtops can be used to paint splashbacks and leaves a professional, stain-resistant finish.
Highly durable and chip-resistant, Dulux Renovation Range Tiles & Benchtops can be tinted to thousands of Dulux colours and is available in both satin and gloss finishes.

How to get the perfect look
Prepare
Clean surfaces to avoid problems
You must remove all grease and dirt. Otherwise, the paint will peel or flake off.

Clean the area
Scrub the area with Selleys® Sugar Soap, and then rinse with clean water at least twice.
Use a plastic scouring pad on extremely dirty surfaces, and avoid using abrasive cleaning detergents.


Mix
Get the best results
For the best results, make sure to thoroughly mix the additive into the paint before beginning the application process.
Once mixed, the primer is suitable for use for up to 3 days and the topcoat for 10 days.

Add the additive
Under the blue lid of the primer paint can, you will find an additive packet.
Pour the contents of the packet into the paint.


Apply
Carefully read the instructions
For full instructions, refer to the back of the paint cans.
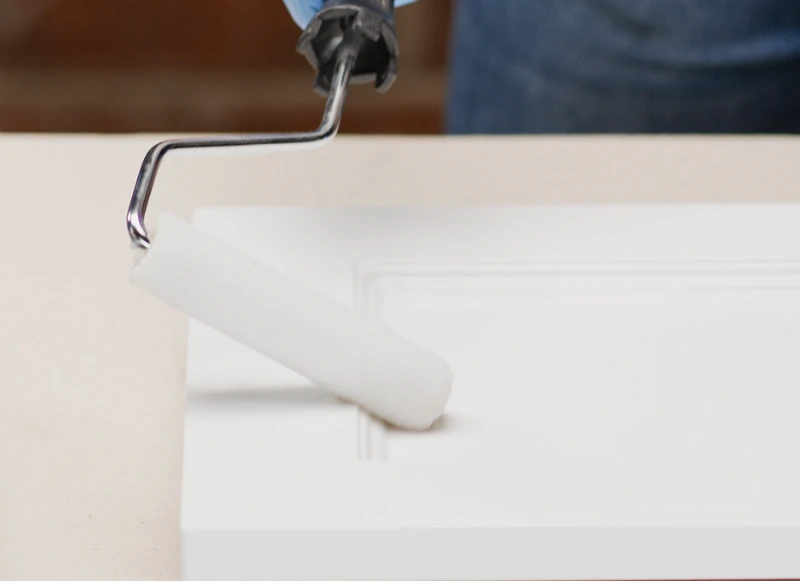
Cut in
Starting with Dulux Renovation Range Primer, cut in using a 38 to 50 mm high-quality angled sash cutter brush.


Here's what you'll need to get started:
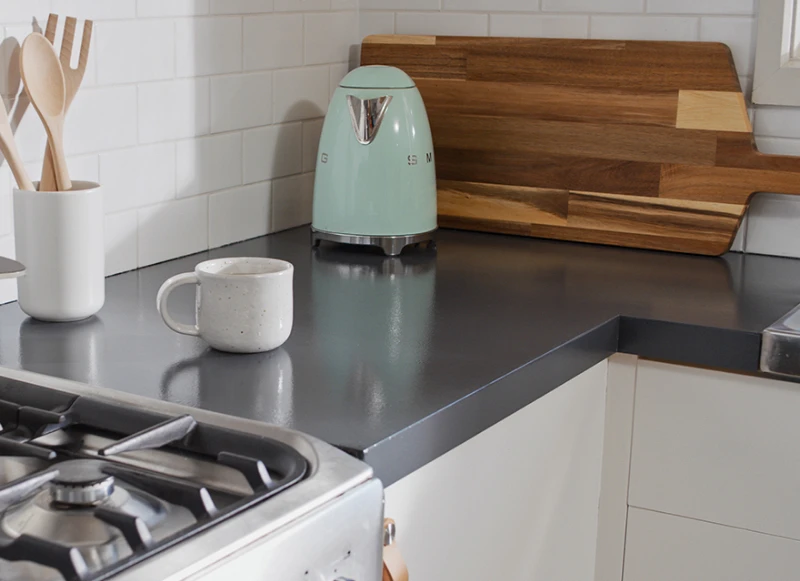
Colour & Paint


Select your preferred finish
Dulux Renovation Range Tiles & Benchtops and Clear Coats are available in both satin and gloss finishes.
Tools & Accessories
Plastic scouring pad
P400 sandpaper
Flat paddle stirrer
Renovation range FAQs
Dulux Renovation Range is available in 1L and 2L sizes
Use a non-abrasive grease and oil cutting cleaner such as Selleys® Original Sugar Soap. Clean the surface at least twice with clean water and Sugar Soap each time. Clean until the cleaning water and Sugar Soap remain clean. Do not use abrasive cleaning compounds. Abrasive scouring pads should be used when cleaning before painting.
The Dulux Renovation Range is designed for interior use only.
All of the products have been designed to deliver 12m²/L per coat. To establish the amount of paint you require follow the calculation below:
- Work out the total area that you wish to coat.
- Multiply by two for the number of coats required.
- Divide by 12 to establish litres required.
- Multiply the litres by 1.3 to allow enough for 30% excess to allow for waste, roller and brush loading and retention in the can and roller tray.
- Round up to full litres where figures are less than full litres. For example: 10m² of surface
10 X 2 = 20
20/12 = 1.67
1.67 X 1.3 = 2.17
Round up to 3 litres.
Yes, Dulux Renovation Range Floors can be applied to properly cleaned and prepared glazed terracotta tiles.
Yes, it is absolutely necessary to use Renovation Range Primer before applying Renovation Range products. The primer ensures optimal adhesion to the surface.
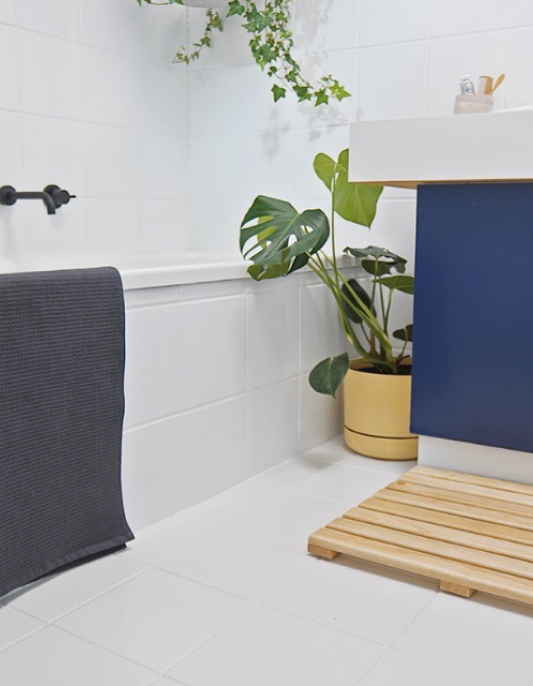

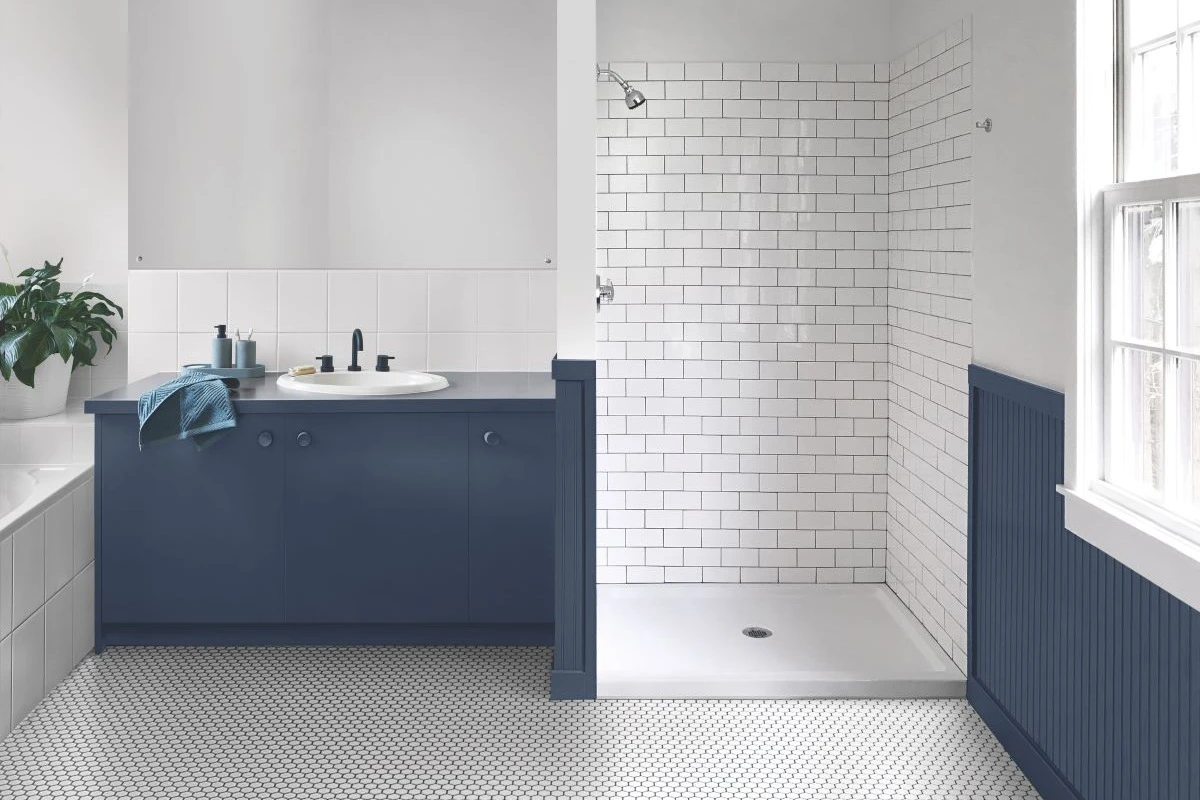
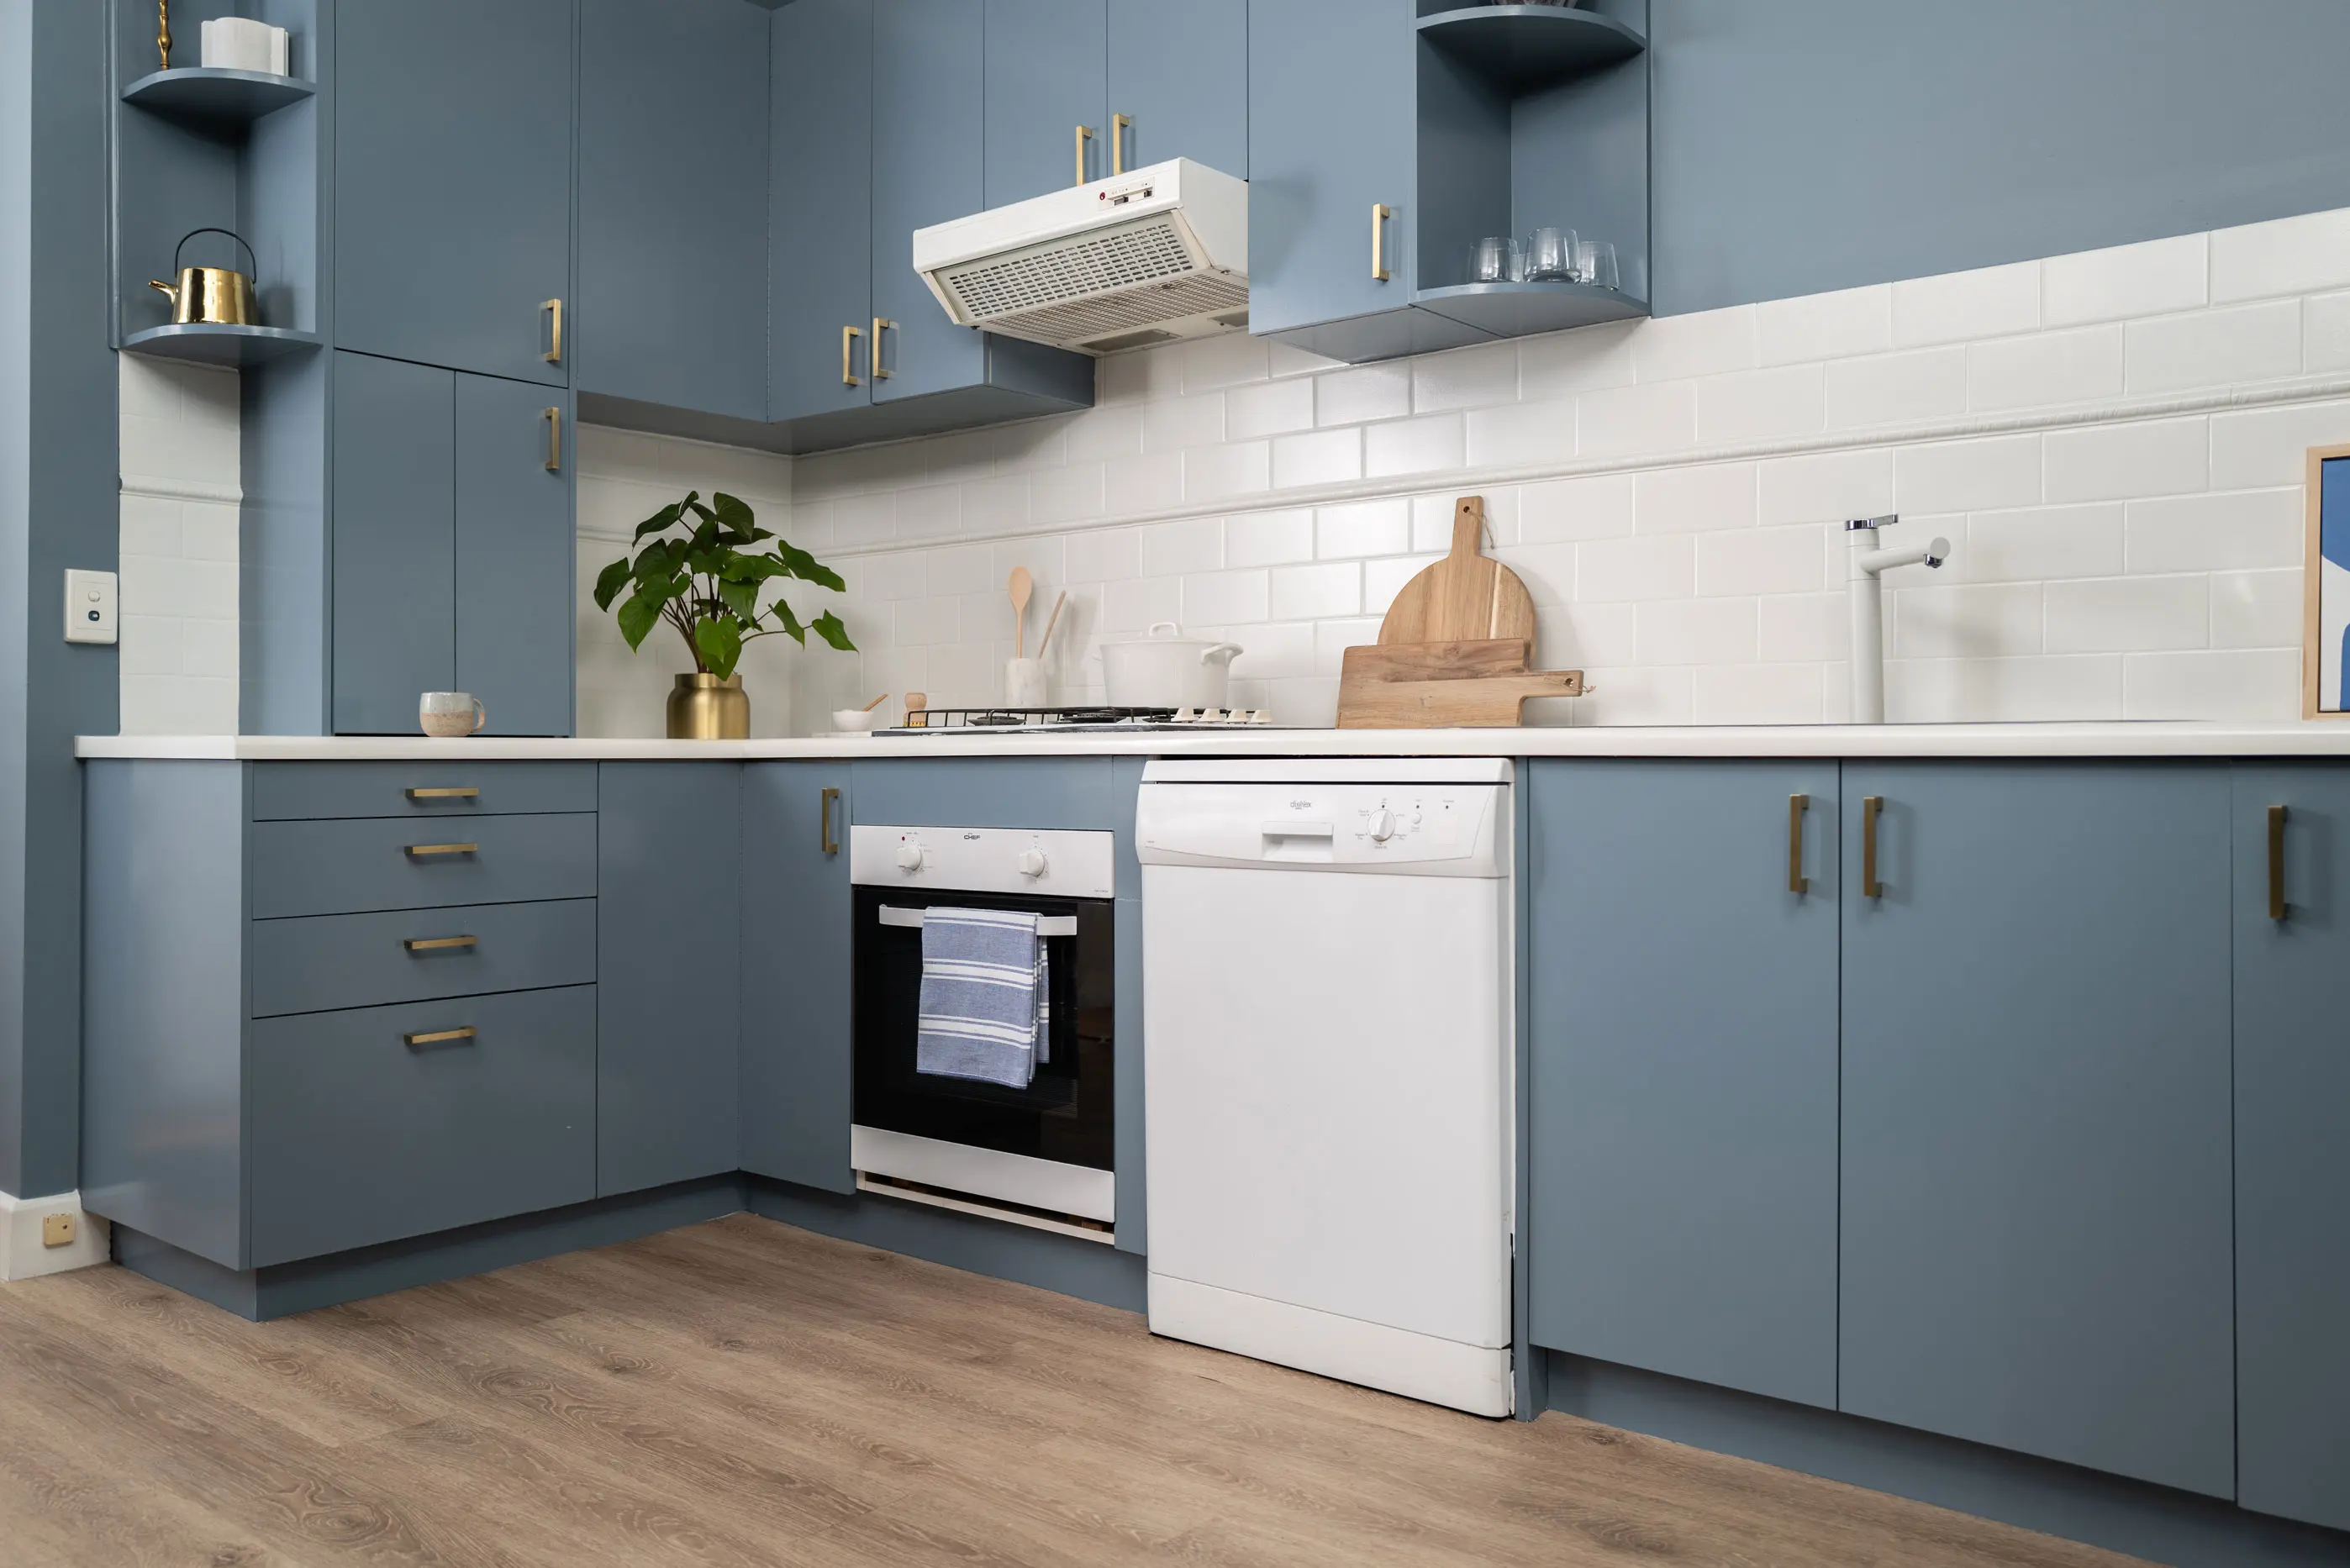
Our revolutionary, water-based interior range is perfect for painting surfaces in the kitchen, bathroom and laundry. With the Dulux Renovation Range, transforming your spaces has never been easier.
The Dulux Renovation Range range is available in hardware stores and specialty paint stores Australiawide. Use the store locator to find your a Renovation Range stockist near you.
Our friendly Help and Advice team can help you. Call 13 25 25 and speak to one of our team members or submit an enquiry via our online form.
Available 6 days a week, start a chat with our team to discuss everything you need to gain colour confidence.
Fill out our enquiry form and our expert Help & Advice team will get back to you about your request.
Disclaimer
Colours displayed should be used as a guide for your colour selection. To ensure best accuracy, test your colour choice at home by ordering Dulux sample pots, stickers and A4 colour swatches.
