Create a starry ceiling
Change is natural. Let Dulux help you start your change.
Follow 3 easy steps to get you started.
Step-by-step to paint the Ceiling
You're ready to paint. Follow these steps to get the best result.
Clear your area
Clear your area and lay down a drop sheet. Grab the tools you will use to paint.
Tape around
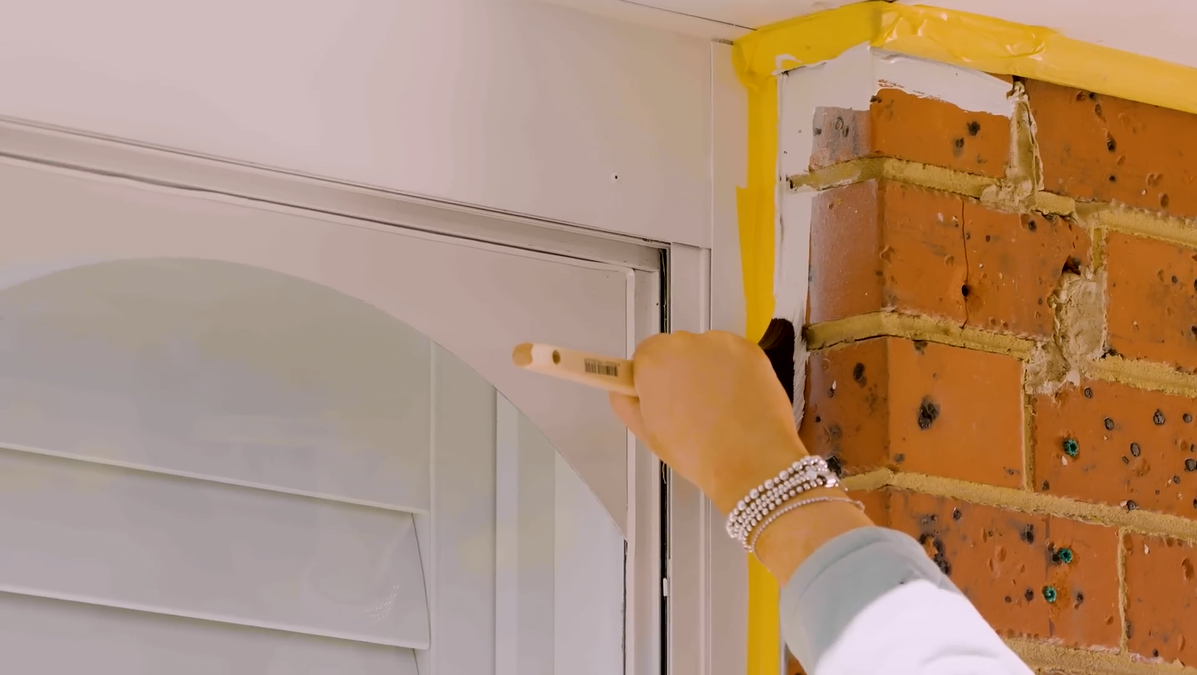
Tape around cornices, edges and any downlights.

Cutting in
Cut in around the edges of the wall with a brush — these are the areas the roller cannot easily reach. Maintain a wet-edge by cutting in larger areas in sections as you go. This will help to avoid ‘picture framing’ where unblended cut in areas remain obvious after rolling.
Load roller evenly
Load roller evenly and paint the ceiling in Winter Sea Matt. (If your ceiling requires two coats, wait two hours.)
Use the stars and shapes template to create your Starry Ceiling.
Step-by-step to paint Starry Ceiling

Prepare the stencil
Cut out a stencil of a star from card and tape it to the wall. Dab a little white paint on your sponge and gently sponge the centre of the star without going right into the points.

Use your finger to create the star fade effect
Remove the stencil and with your finger extend each point of the star outwards in a straight line, so the points of the star fade off. You may want to practice this technique on a spare piece of card to make sure you get the points extending in a straight line.

Continue with all points
Continue using your finger to extend each point until all points fade off with a soft blur.

Add a comet
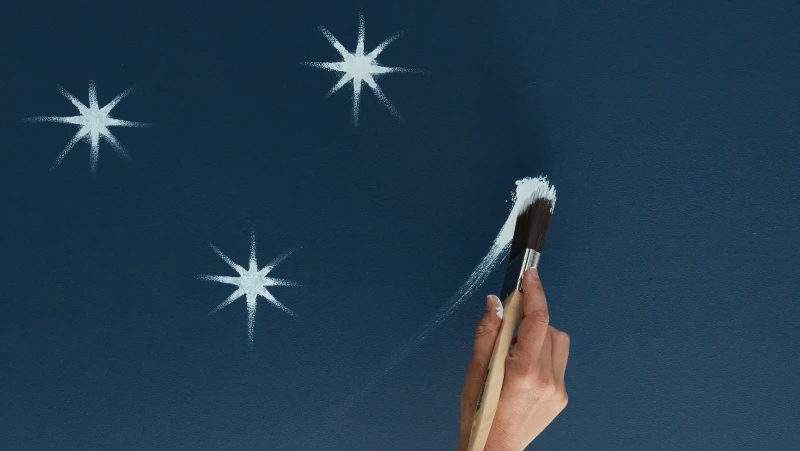
Add the comet by painting a brushstroke with a small painter’s brush. Hold the brush like a pencil, start with some pressure, then release the pressure and lift the brush off the surface with a slight flicking motion. You can go back in and add a little paint to the head of the comet or extend the tail with a dry brush if you don’t get it first in the first stroke.

Paint random smaller stars
Then take a medium size artist’s brush and paint medium sized dots randomly spaced across the ceiling. Then using a smaller brush, paint smaller dots in between the medium ones, making sure the dots are not evenly spaced. The different sized dots create the illusion of some stars being closer and some further away.

You're done!
The result is a very effective night sky. Just lie back and enjoy the experience of sleeping under the stars!
Here's what you'll need to get started:
Colour & Paint
Tools & Accessories
High-quality synthetic brush (for cutting-in)
Paint pot – for cutting in
Roller tray
Roller extension pole
Ladder

