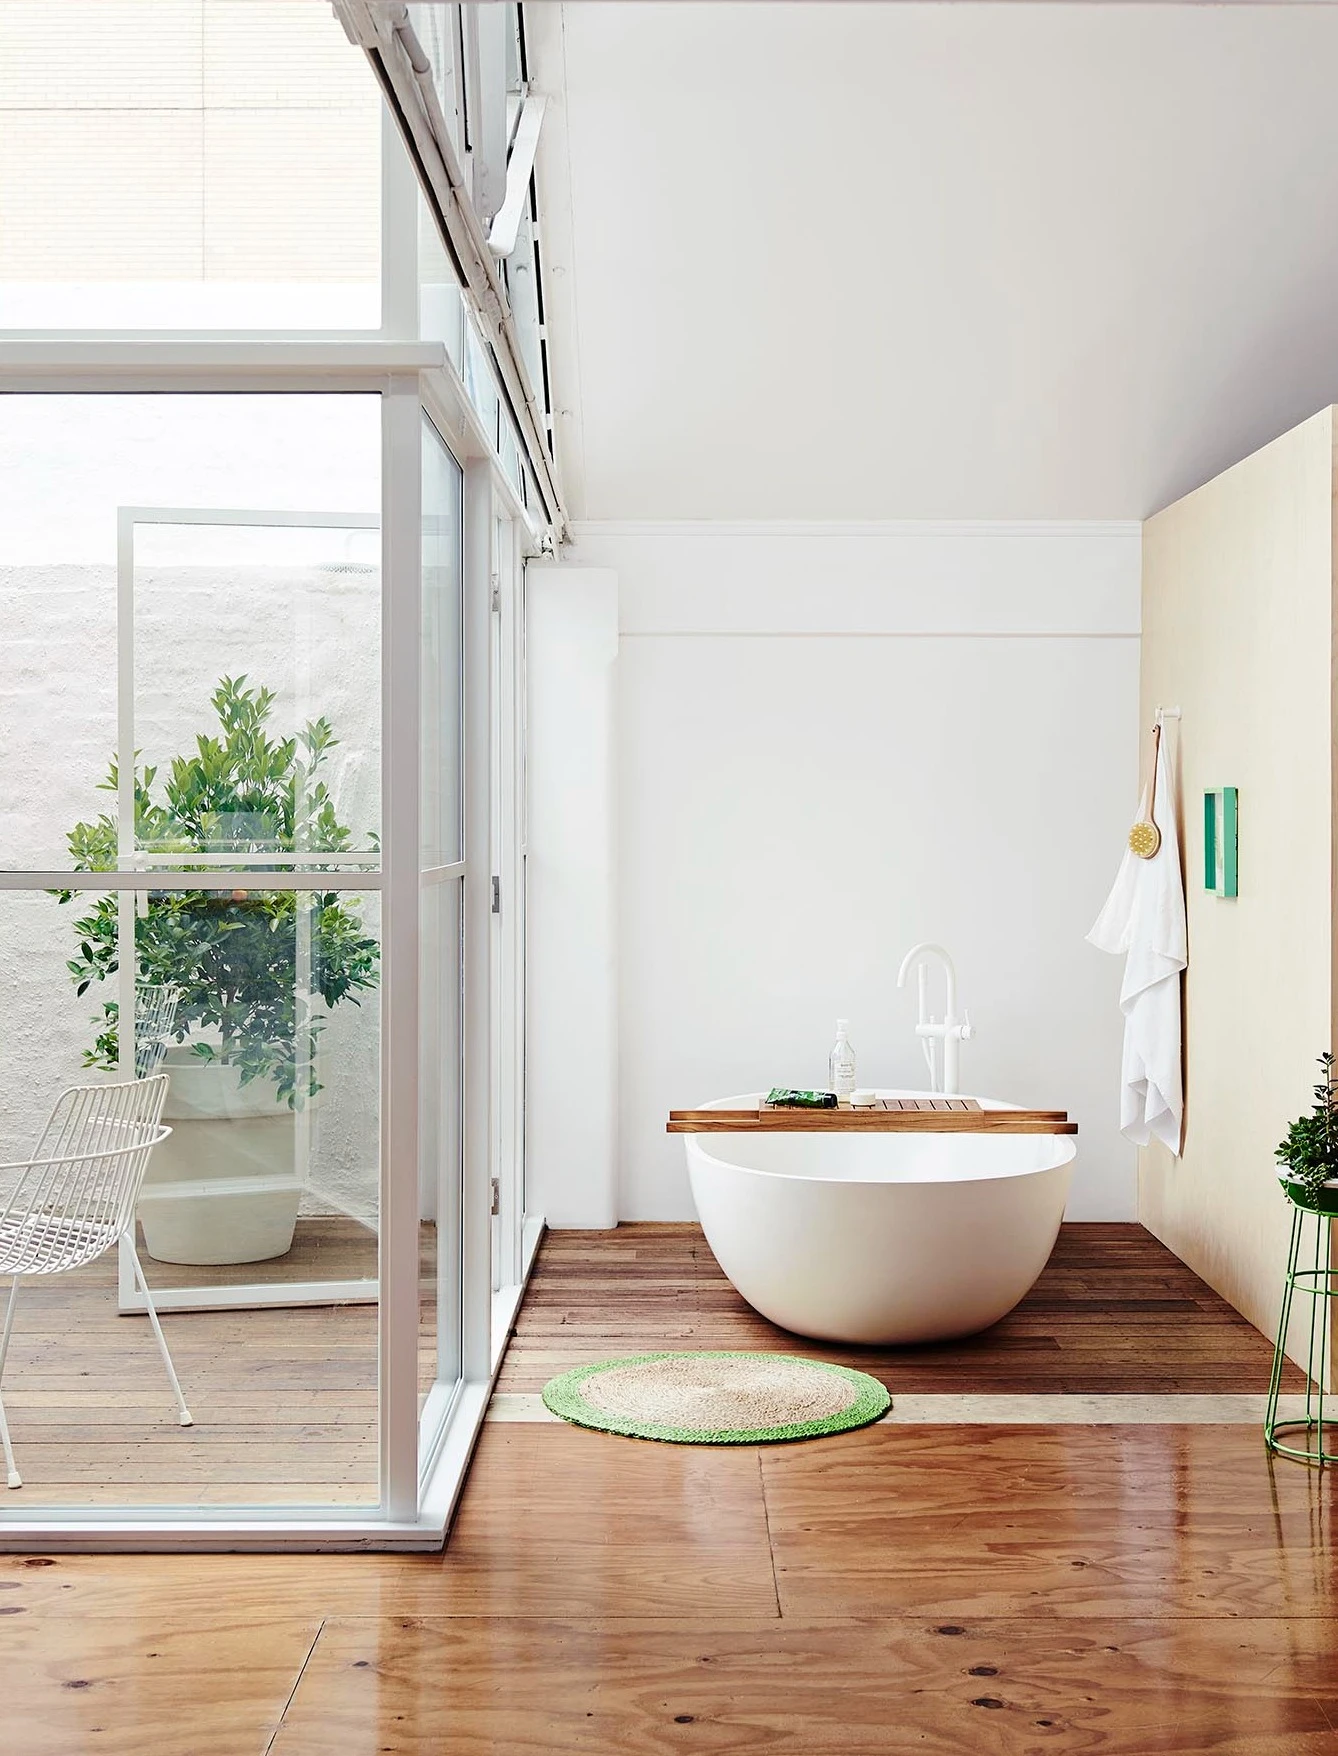
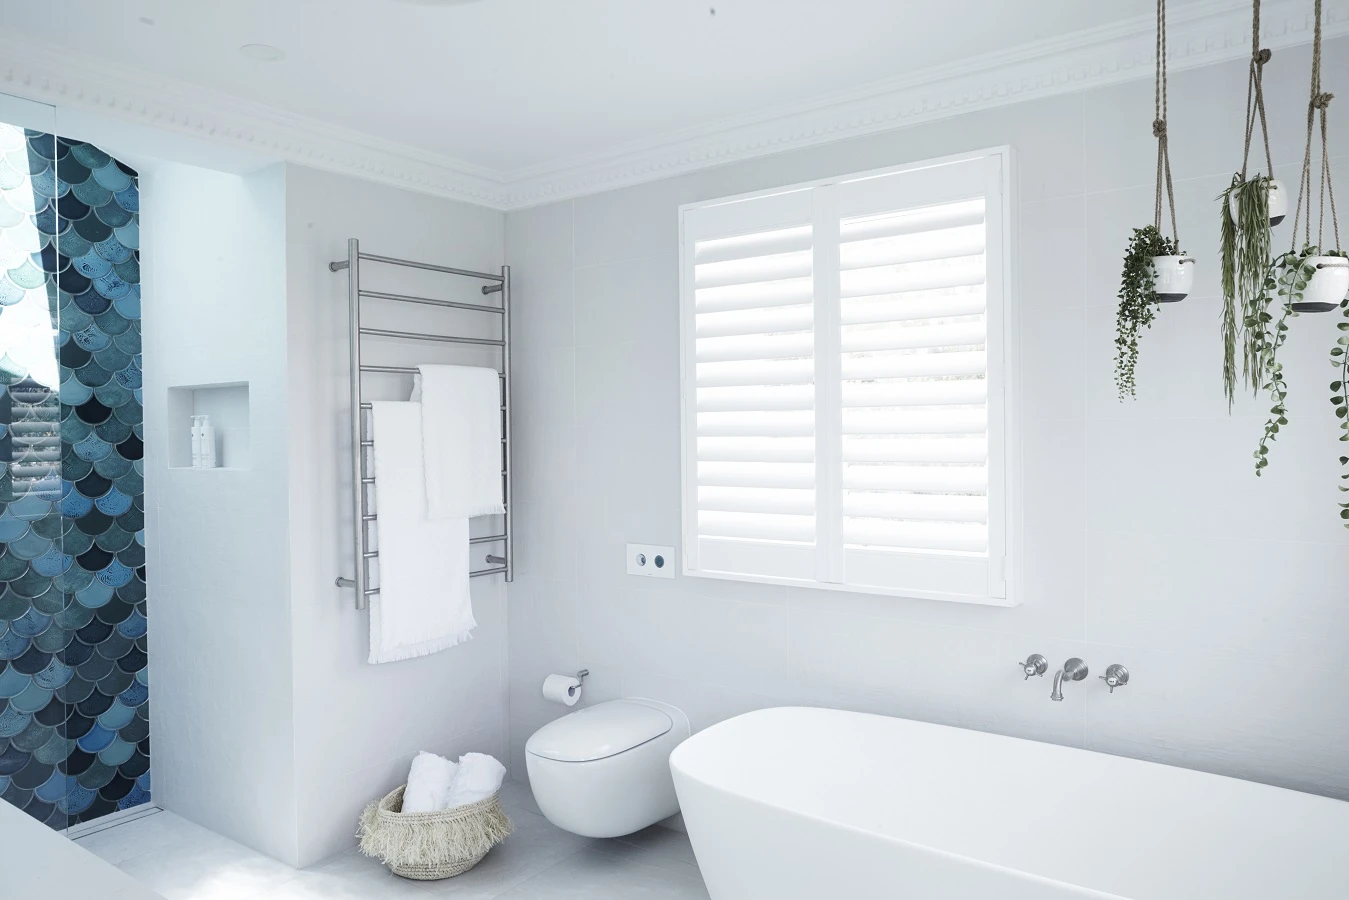
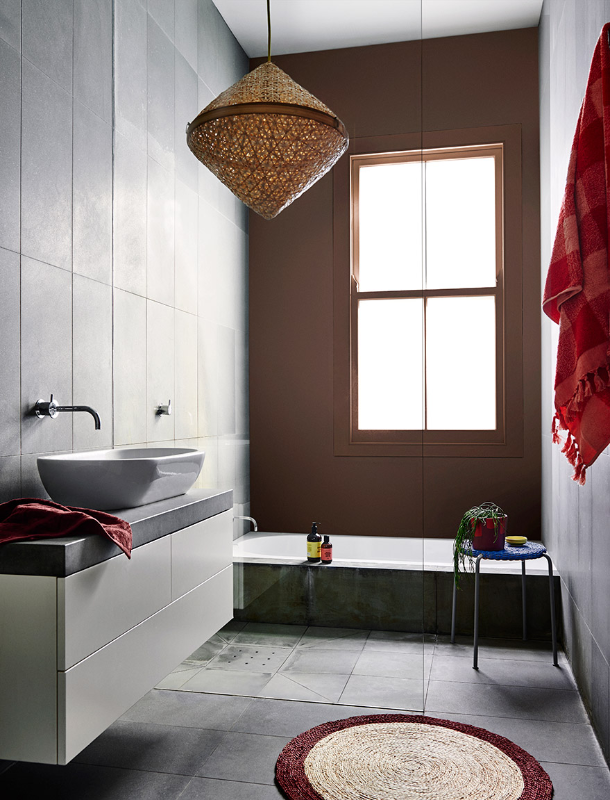
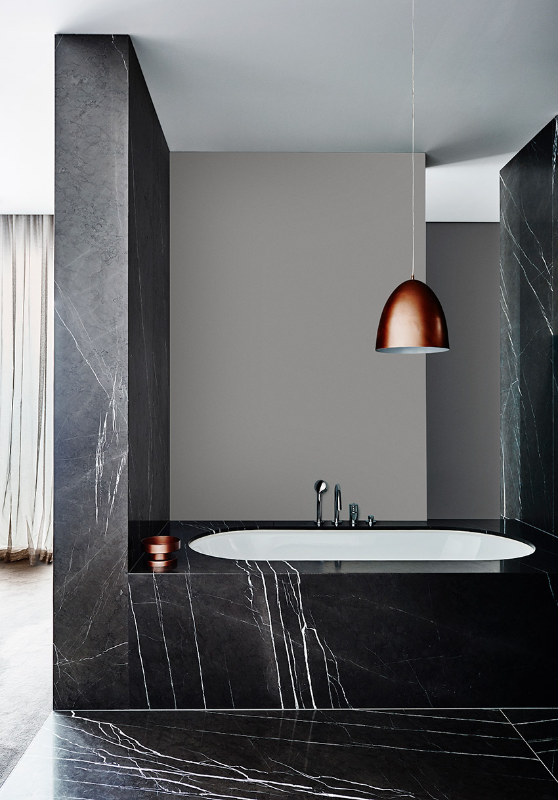
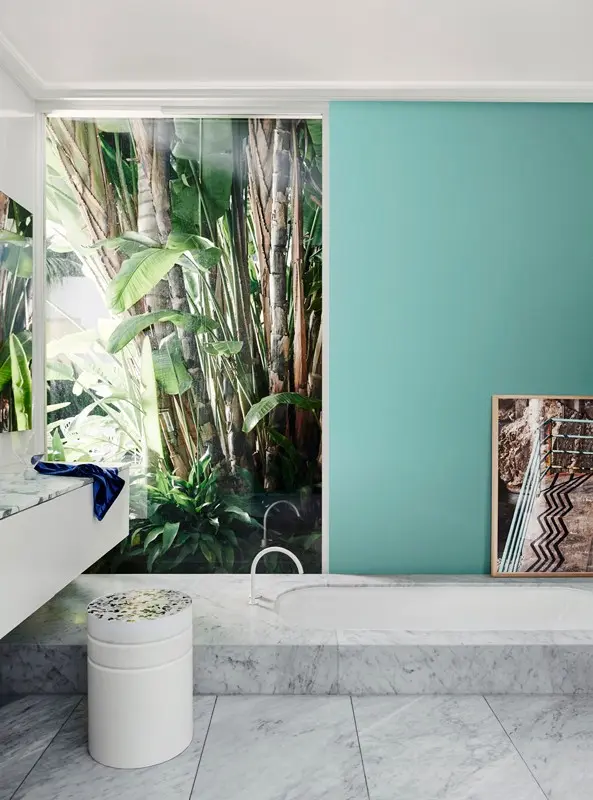
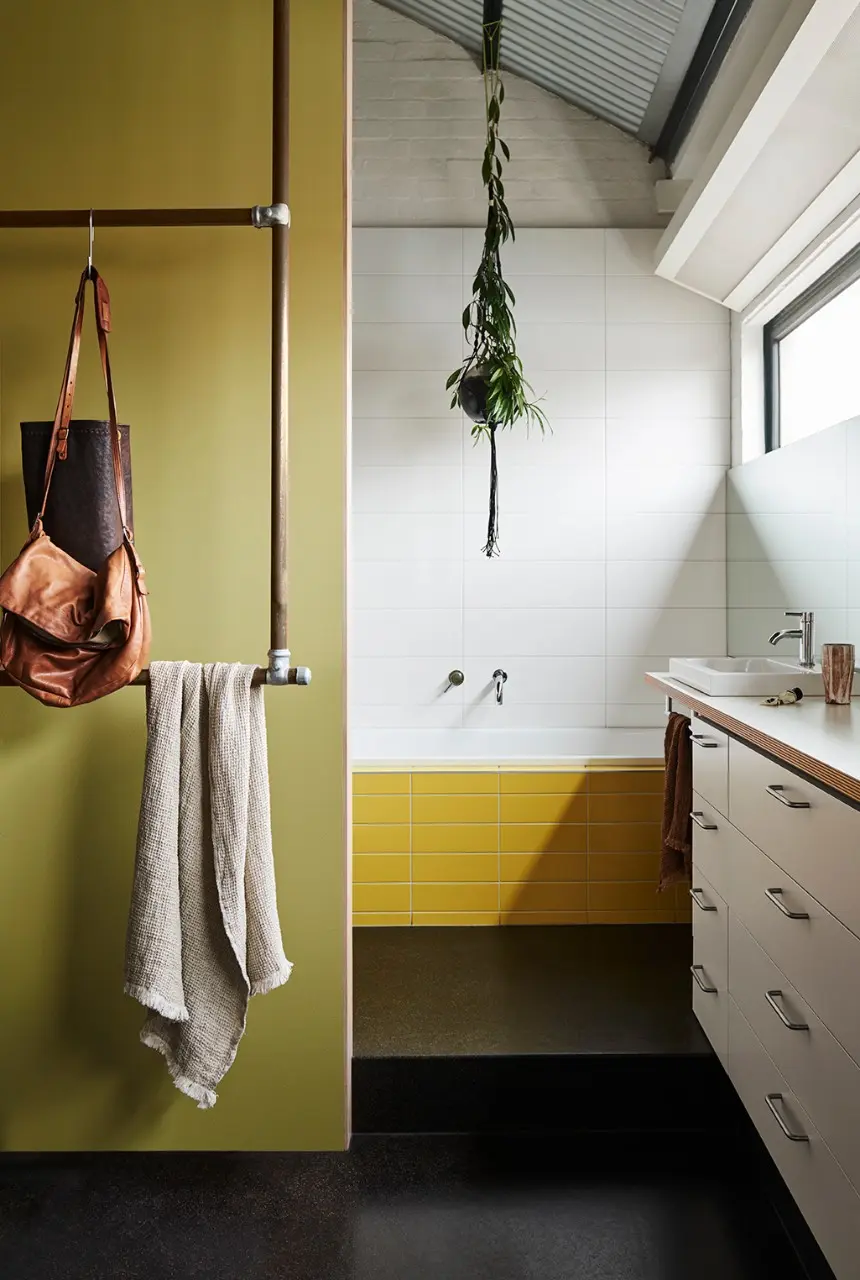
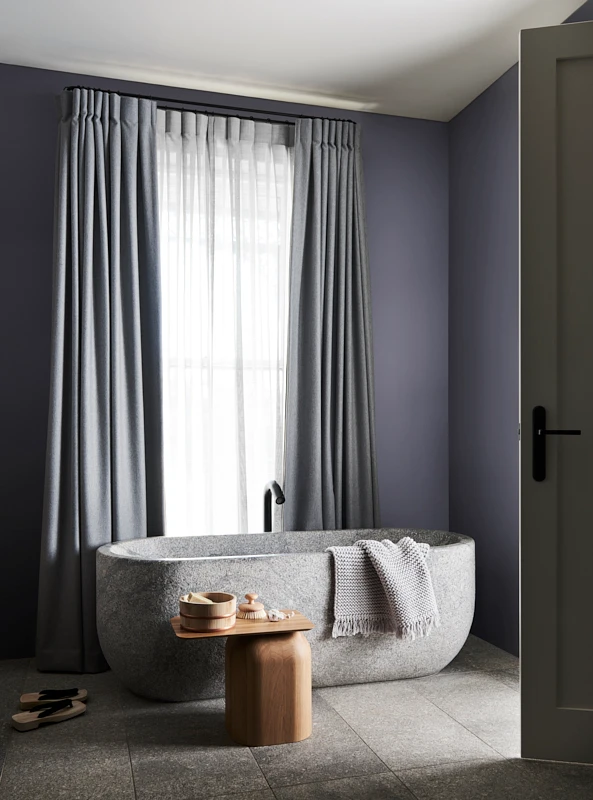
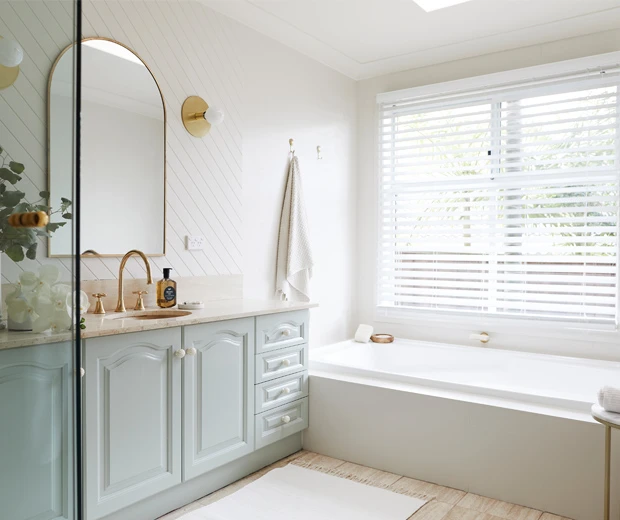
Transform your bathroom with paint

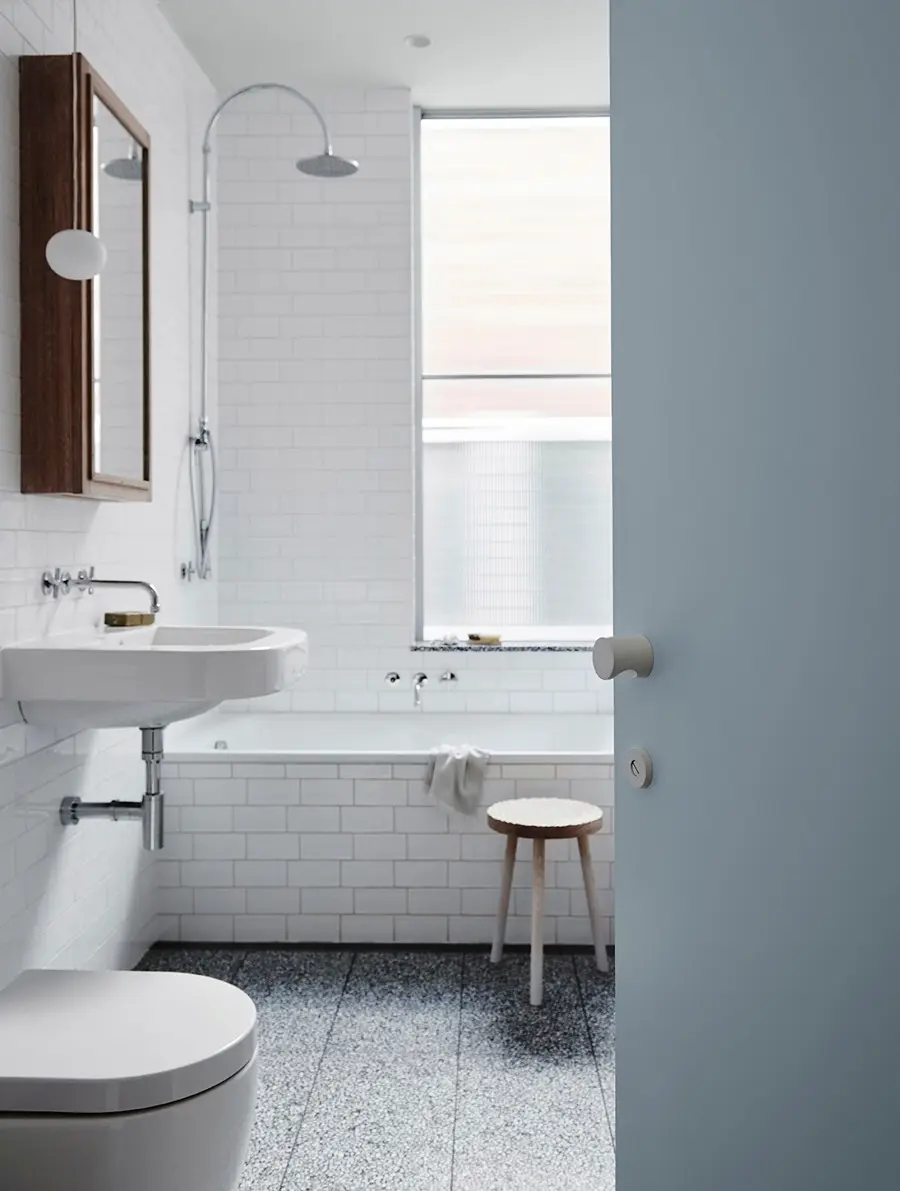
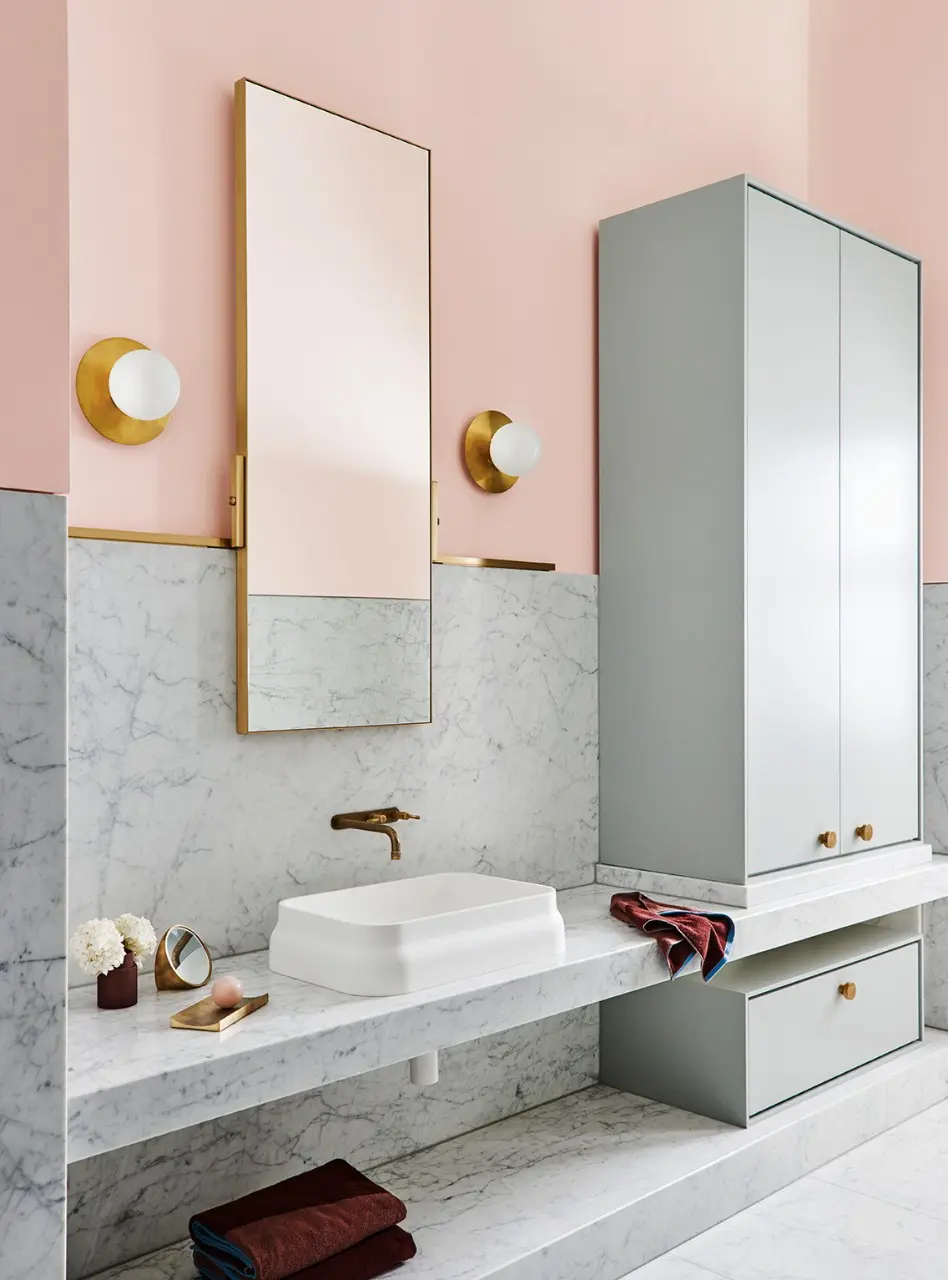
Here's what you'll need to get started:
Colour & Paint
Tools & Accessories
High quality synthetic brush
Paint rollers – select appropriate nap as recommended on the paint can
Paint pot, for cutting in
Roller tray
Roller extension pole
Drop sheets
Cloth
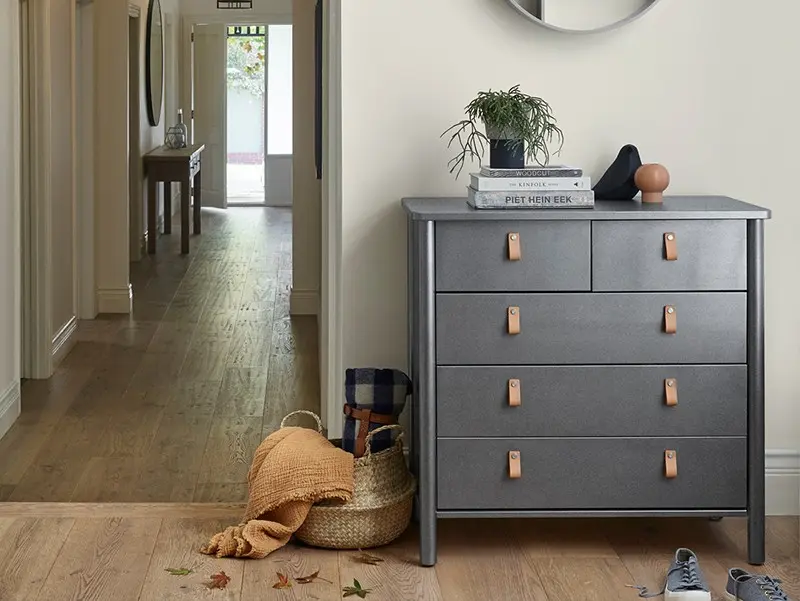
More painting guides
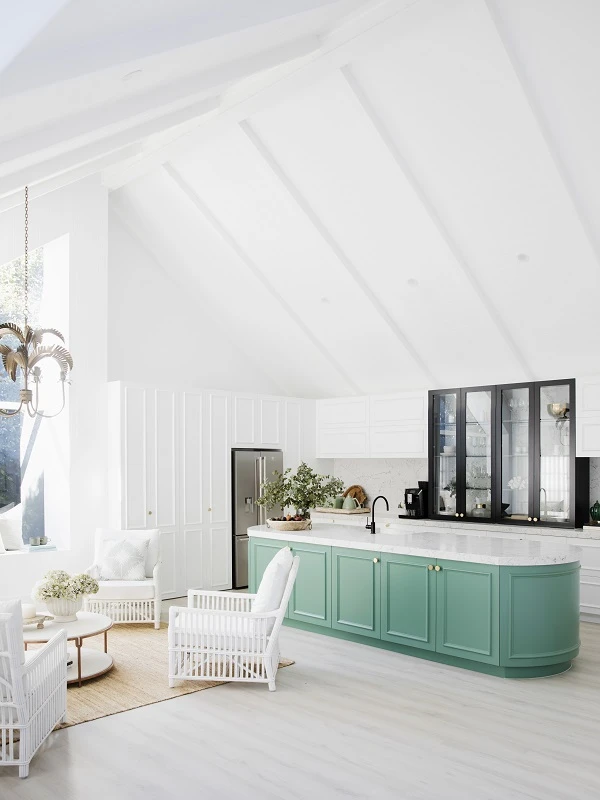
The kitchen is the heart of the home, a space to catch up with friends and family
A repaint can really transform the room, giving it a clean, crisp finish
Thanks to Scuffshield Technology™, Wash&Wear® +PLUS Anti-Scuff works hard where you need it by providing ultimate resistance against scuffs and marks. It ensures your surfaces look freshly painted for years and is ideal for high traffic areas.

Help & Advice
Make confident decisions about your project needs with support from our wide network of painters or speak to one of our Help & Advice consultants now.


Help & Advice
Want to change but don’t know where to start? Dulux Help & Advice are expert consultants who can help you with colour advice, product selection and application, everything you need for your next paint project.
Contact Help & Advice-->
