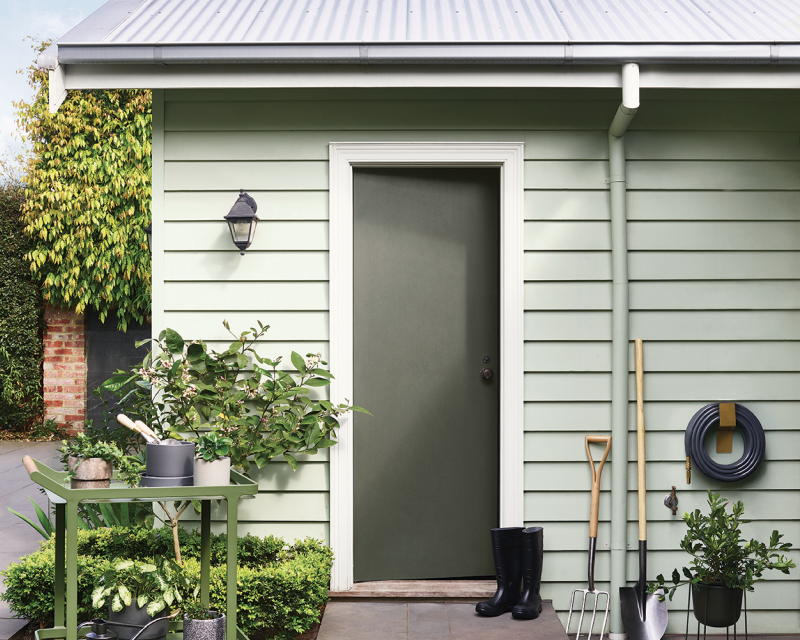
Give your shed a makeover
The right paint for the job
Dulux Weathershield® is perfect for your shed. Weathershield® has been specially designed to provide a tough, hard-wearing finish that provides protection from all weather conditions. Formulated with MaxiFlex™ Technology to expand and contract with the surface, Dulux guarantees Weathershield® won't peel, flake or blister for as long as you live in your home.
Here's what you'll need to get started:
Colour & Paint


Select your preferred finish
Dulux Weathershield® is available in matt, gloss, semi-gloss and low gloss finishes.
Tools & Accessories
Broom
Bucket
Damp cloth
Paint pot
Flat paddle stirrer
How to get the perfect look
Prepare

Choose your colour
To start, find inspiration and select from the Dulux colour range. Explore our inspiration gallery and get a sample pot to help you choose the perfect colour.
Clear the area
Move bikes, plants or outdoor furniture that are close to the shed.
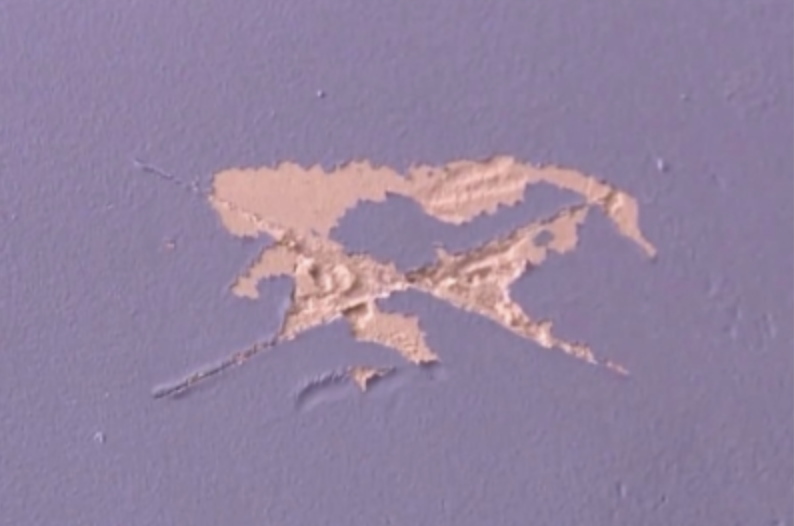
Test the current paint
Using a sharp knife, cut an “X”. Place tape over the X and remove quickly. If any paint comes off, all unstable paint must be removed.
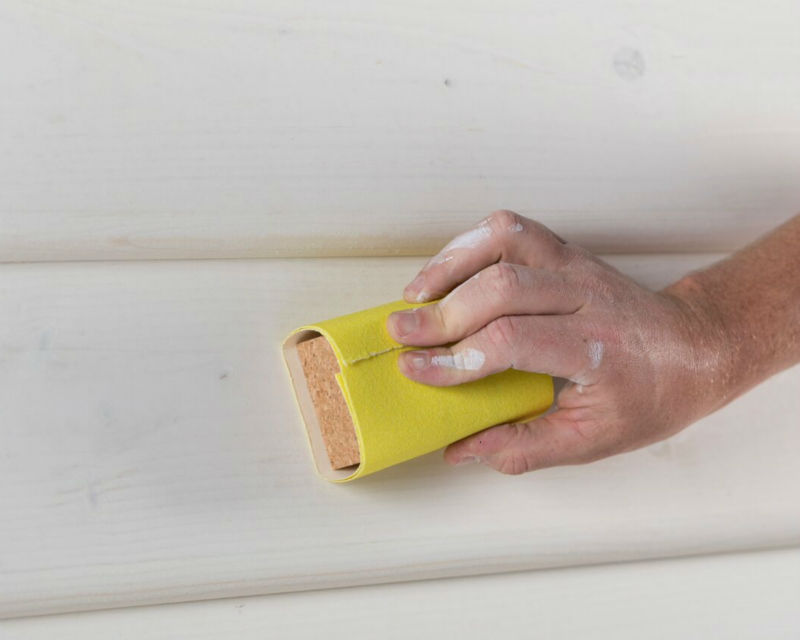
Prepare surface
If needed, fill gaps and sand any imperfections in the plaster or paint. If the surface is peeling, flaking, mouldy, or blistering, read more detailed advice on how to prepare exterior surfaces.
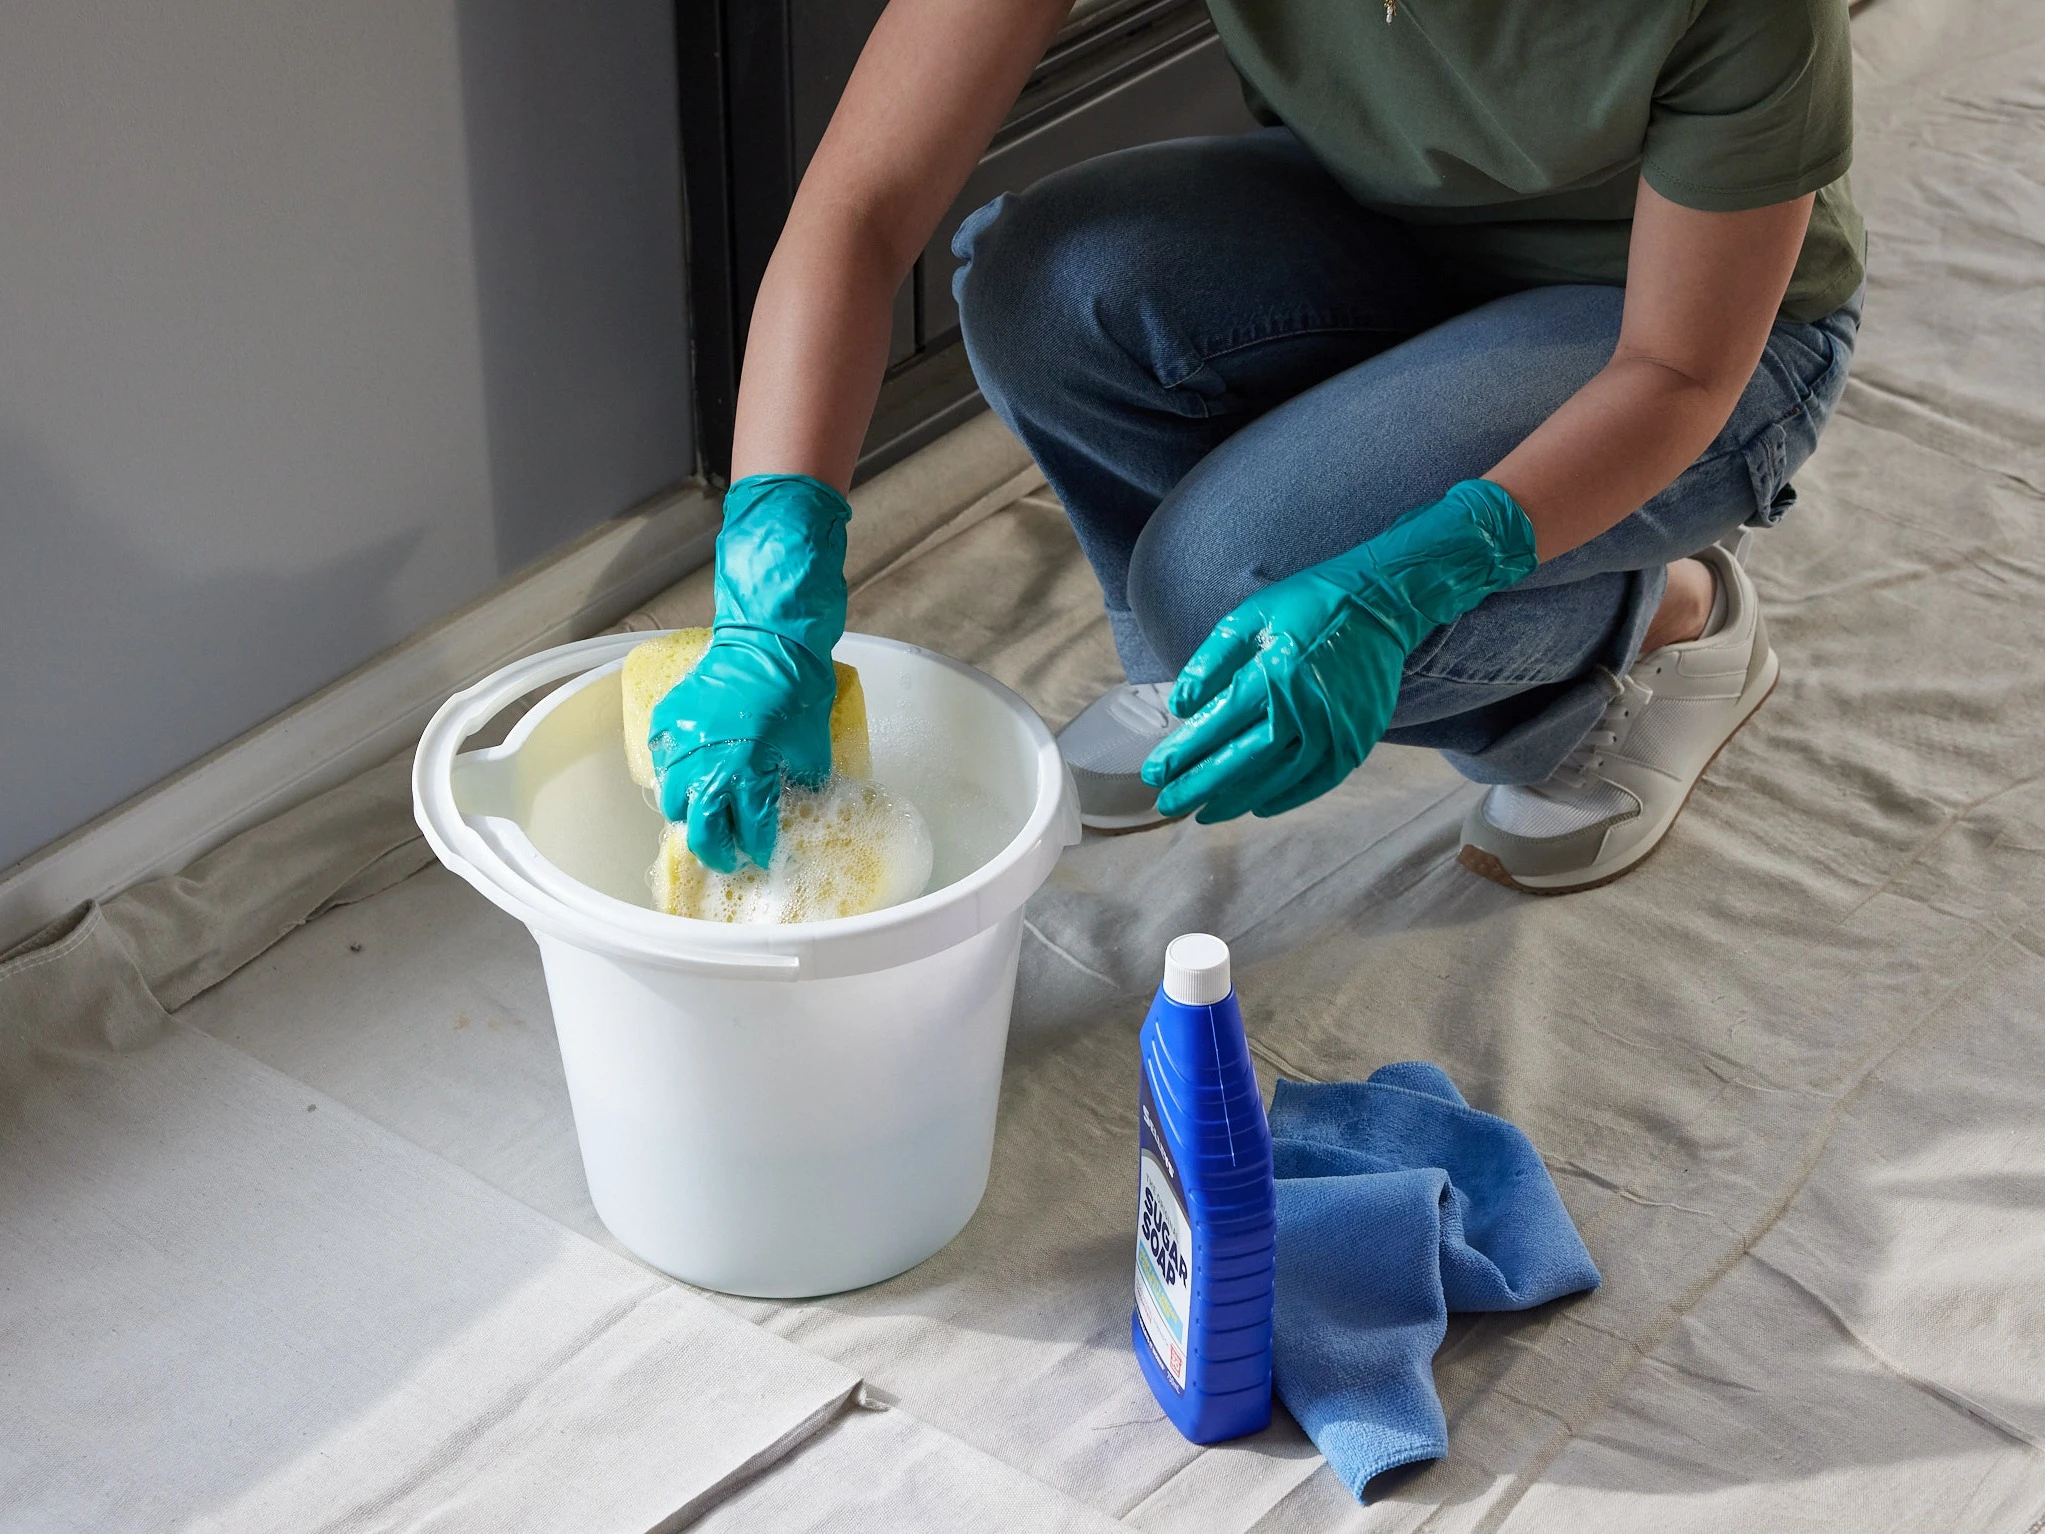
Clean
Clean the area using Selleys Original Sugar Soap, ensuring you remove any dirt and dust.
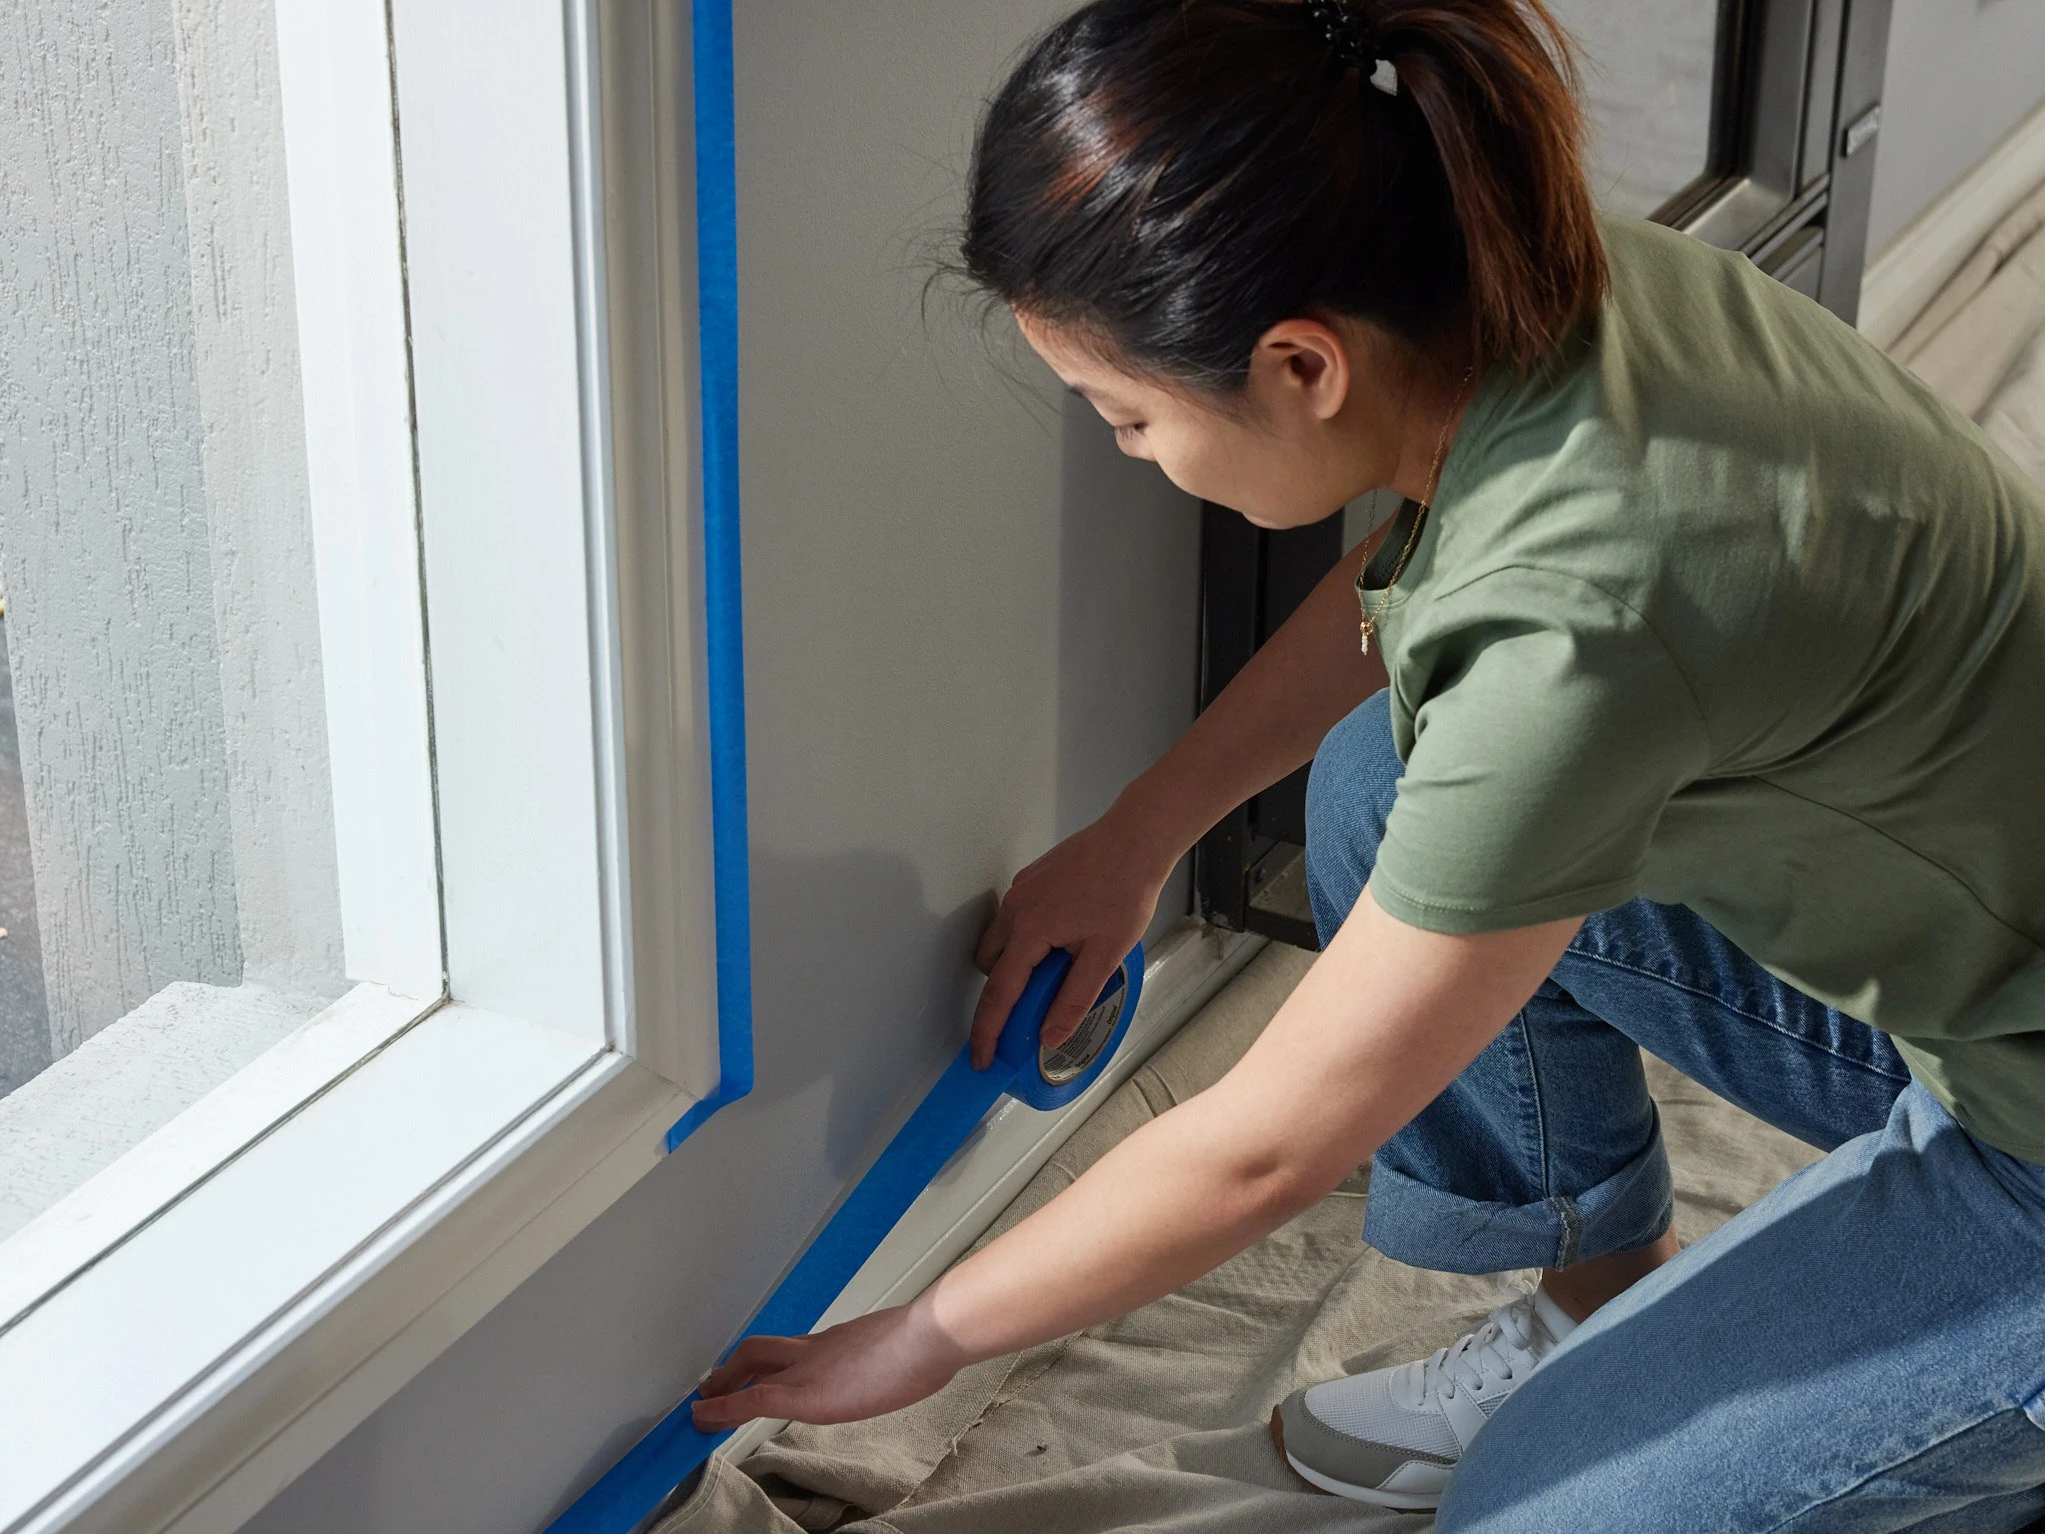
Protect the area
Mask your trim and anything else you don't want to paint. Lay down a drop sheet to protect the area from drips.
Paint
If painting weatherboards
Watch our How to Paint Weatherboards video and read the quick steps to get the right finish on your weatherboards.
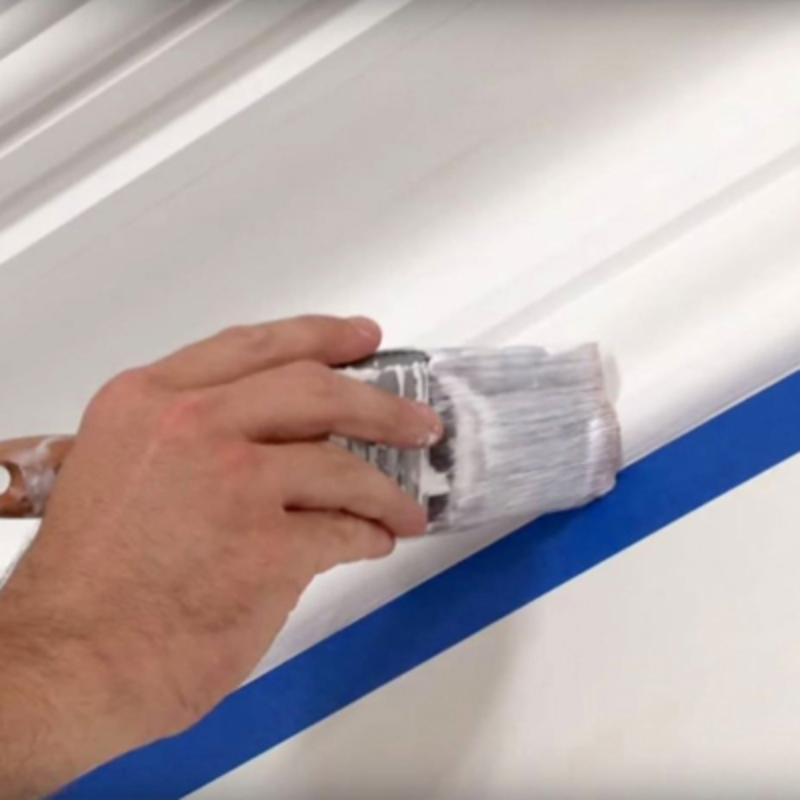
Cutting in
Start cutting in around the wall edges with a brush - these are the areas a roller cannot easily reach. Maintain a wet-edge by cutting in larger areas in sections as you go. This will help to avoid ‘picture framing’ where unblended cut in areas remain obvious after rolling.
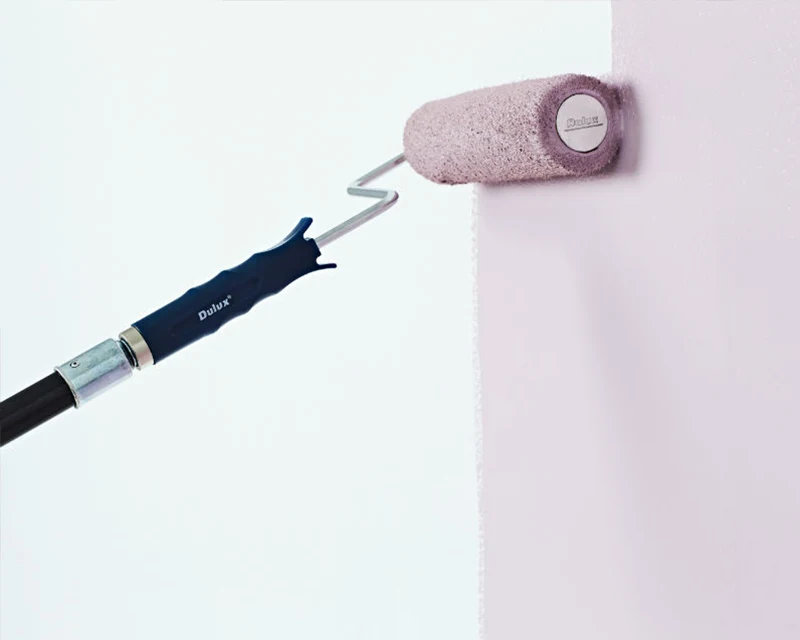
Apply the first coat
Load your roller and apply paint to the wall in a ‘W’ motion. Cross over the same section as needed and continue to paint along the wall until it is evenly covered.
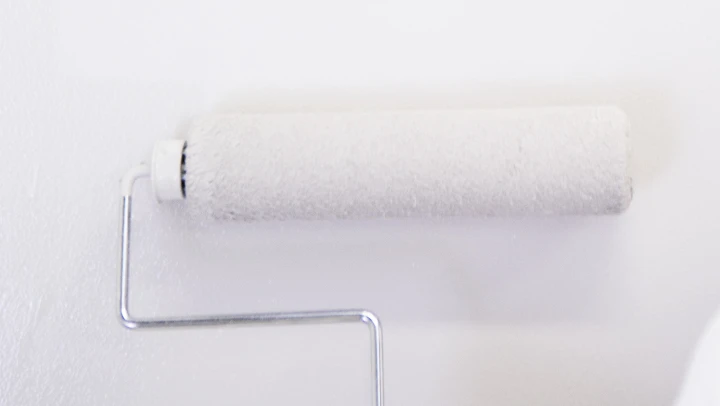
Smooth over the wet paint
Smooth over the wet painted section with long brush strokes. Do not reload the brush when you do this, a few strokes should be enough to smooth the surface.

Repeat this process
Repeat this process for the second coat. Allow to dry, then give the surface a light sand with 400 grit sandpaper and repeat for a second coat.
Apply the third coat
If painting bare timber a third coat will need to be applied.
More Outdoor Projects
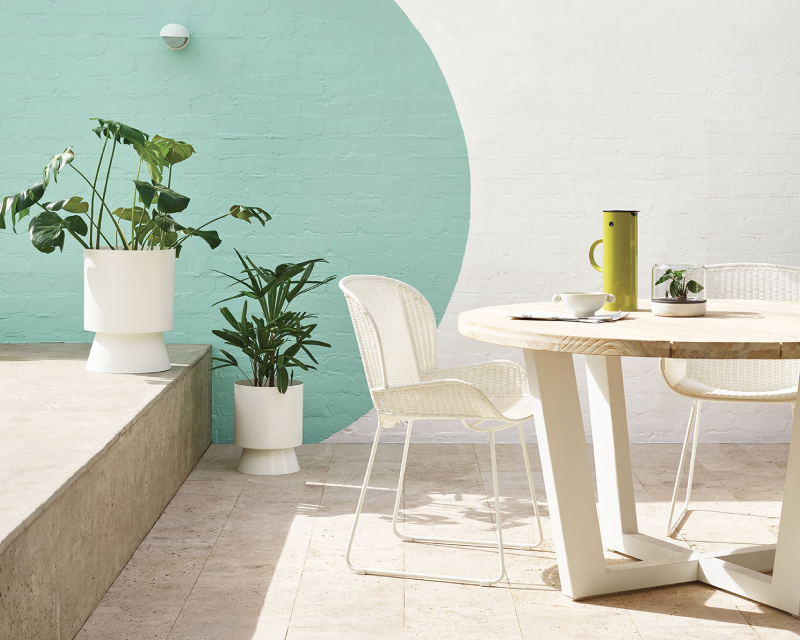
Get started with a lick of paint, a pop of colour, and tips on how to give your furniture a refresh.

Create a relaxing retreat by your pool where you can spend hours watching the day go by.
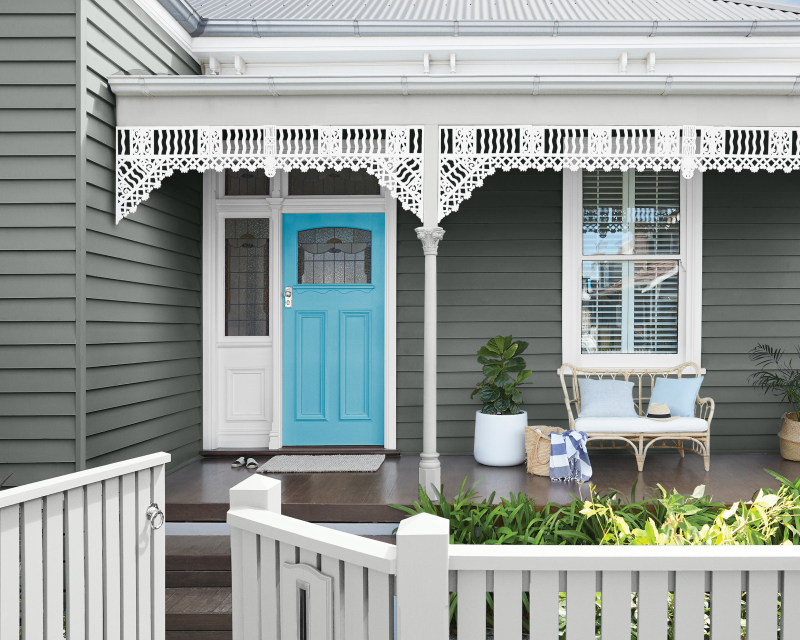
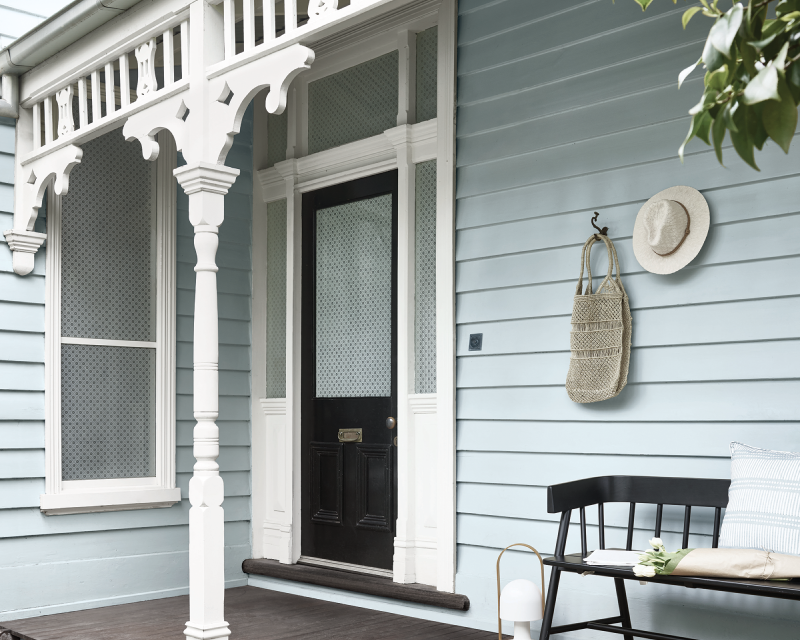
The front of your house is all about first impressions. Look around your neighbourhood to see what colours appeal to you.
Our friendly Help and Advice team can help you order exactly what you need. Call 13 25 25 and speak to one of our team members or submit an enquiry via our online form.
Available 7 days a week, start a chat with our team to discuss everything you need to gain colour confidence.
Fill out our enquiry form and our expert Help & Advice team will get back to you about your request.
