![How to paint using Dulux Design Chalk Effect](http://images.ctfassets.net/j001bqnk84dk/4DgAPcKeGMuqvye9GRD30h/8a0c48c4d749acd132ae4f59bb3d7291/products-designeffects-chalkeffect-header-insitu.jpeg?fm=webp)
How to paint using Dulux Design Chalk Effect
Dulux Design Chalk Effect is simple to apply with the right equipment. Be sure to use quality brushes, and prepare your chosen surface thoroughly before applying. Watch the video below before taking on your next DIY project, then let your imagination run wild! Don’t be afraid to make inspired, bold colour choices.
Follow 5 easy steps to get you started.
How To Guides
How to use Dulux Design Chalk Effect
Preparation
Prepare surface
Surface must be clear, dry and free from dust, oils and grease.
Mask off
Mask off the area with painters tape where you don’t want any paint, such as adjacent walls or furniture hardware and handles (if they cannot be removed).
Applying
Apply one coat of Dulux 1Step® Prep following directions on pack.
Stirring
Stir the paint well with a paint stirrer using an up and down scooping action. Make sure you scrape the bottom of the can to ensure particles are evenly distributed.
Practice
Practice your application technique on a large, spare piece of board.
Application
Start painting
Stir well with a broad flat paddle using an up and down scooping action. Apply two coats of Dulux Design Chalk Effect using a good quality brush to cut in and a short nap roller in good condition for rolling.
Wait 2 hours
Allow a minimum of two hours drying time between coats. Allow the final coat to dry and cure before use.
Using Chalk Effect
Chalk Effect can be left in the current ultra matt appearance or further sanded to create a vintage distressed look.
One colour distressing:
To distress, use a fine-medium grit sandpaper (P240-P180) and lightly sand in one direction. Other grit papers can be used to achieve the desired finish. For an authentic distressed look, sand areas of the surface where wear is most likely to naturally occur.
Two-colour distressing:
Choose your Dulux Design Effects Chalk colours. Apply two even coats of the first colour. Apply one coat of the second colour. Wait two hours before sanding or distressing.
Greater protection
For greater protection on furniture or home accessories follow with Dulux Design Effects Clear Top Coat. Please note: Clear Top Coat may further increase the gloss and darken the effect colour slightly.
Handy tips
Different tones
Leave ultra matt or create one tone or two-toned distressed look.
An authentic distressed look
For an authentic distressed look, sand areas of the surface where wear is most likely to occur naturally such as raised edges.
Further protection
For further protection against marks, seal with Dulux Design Effects Clear Top Coat.
Get creative
Ideal for upcycling furniture.
Here's what you'll need to get started:
Tools & Accessories
Short nap roller (5-10mm)
Quality paint brush
Fine-Medium Grit Sandpaper
Painters tape
Paint stirrer
Related how to guides
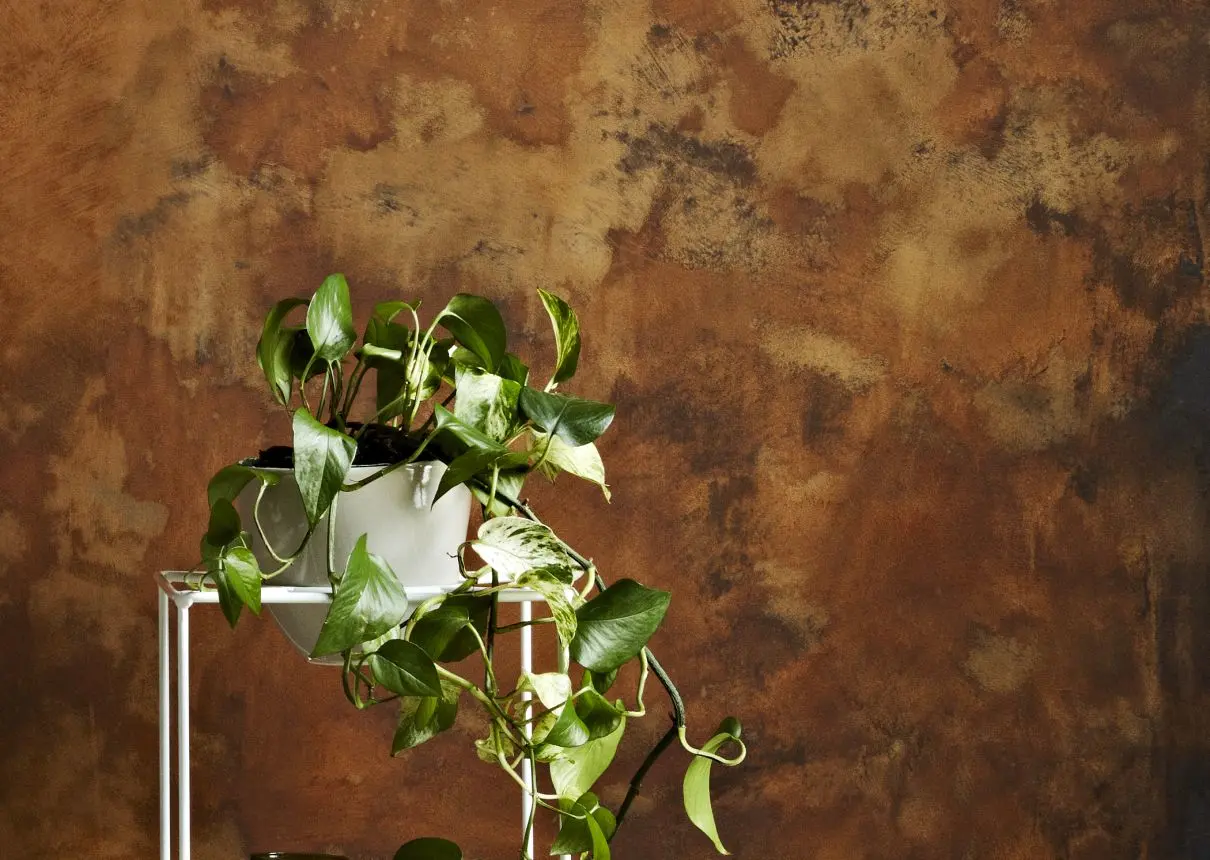
Want to create a feature wall with a real difference? Dulux Design Rust makes creating an authentic, rusted iron finish on just about any surface quick and simple.
Dulux Design Copper Effect creates the look of lustrous, metallic copper. Use on it's own or add Dulux Copper Patina Effect to create the green patination of aged copper.
Enjoy the refined modern industrial textural effect of Dulux Concrete Effect. Make a statement in your home on interior walls in the living room, bedroom, or study.
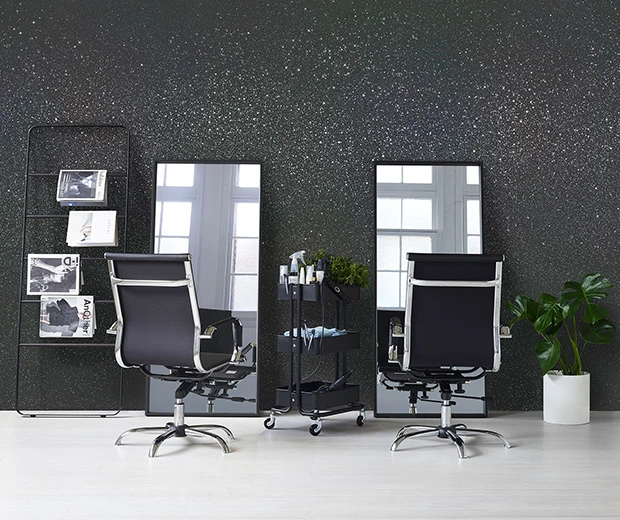
Dulux Glitter Effect can be used in residential or commercial spaces for a sophisticated and versatile look.
Help & Advice
Make confident decisions about your project needs with support from our wide network of painters or speak to one of our Help & Advice consultants now.
Help & Advice
Want to change but don’t know where to start? Dulux Help & Advice are expert consultants who can help you with colour advice, product selection and application, everything you need for your next paint project.
Contact Help & Advice-->