
How to paint brick
See how to paint brick
Before you paint
Before you paint ensure you have properly prepared the area.
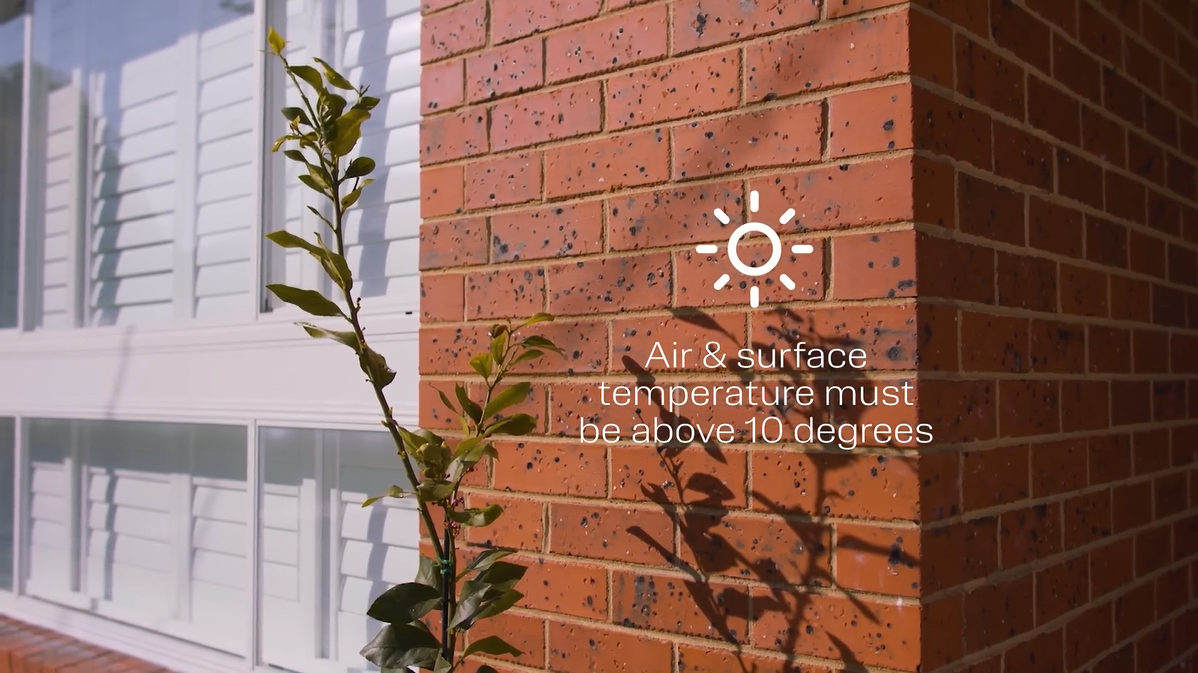
Before painting
New brickwork with cement mortar should be left to set for a minimum of 28 days before painting.
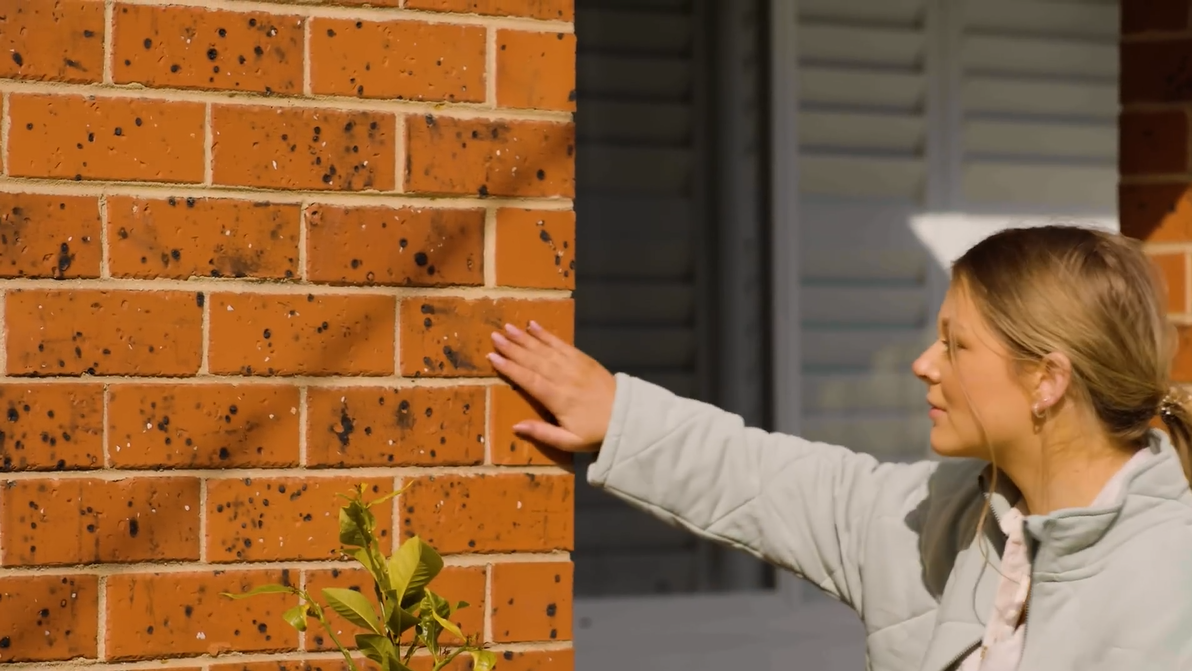
Defects checking
Check your brickwork for any defects. A build up of white crystal salts on the surface is called efflorescence and needs to be removed before painting. To remove any efflorescence, wipe down the bricks with a 5% solution of white vinegar and water, hose down then allow to dry.
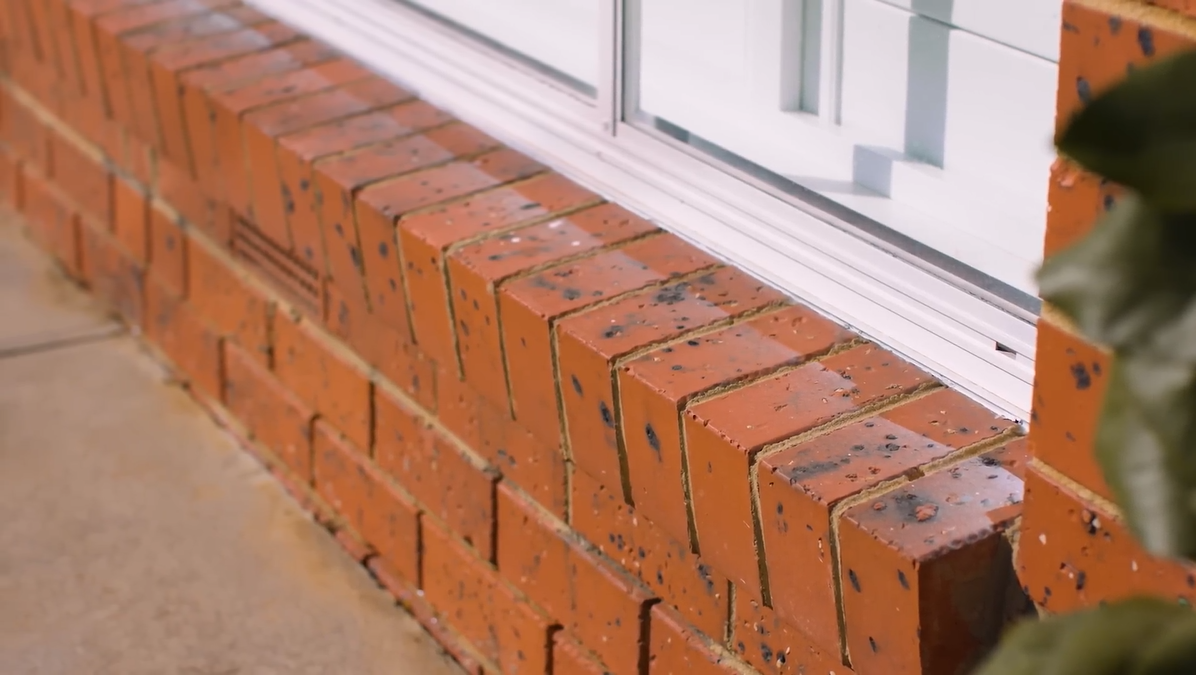
Water damage checking
Check the bricks for any water damage. Any leaks, damp rising or excess moisture will need to be addressed before painting.
Surface ensuring
Ensure the surface is clear of any loose sand or cement. Fill holes with grouting cement.

Removing
Wash down with water using a stiff brush to remove all loose material.
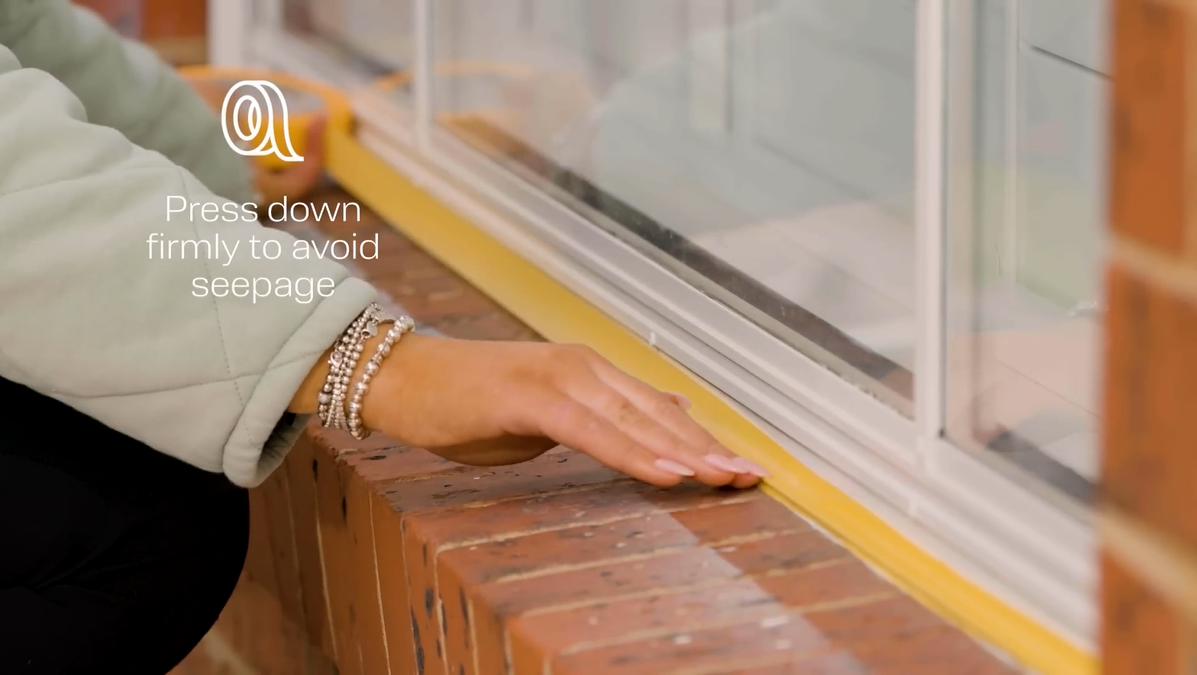
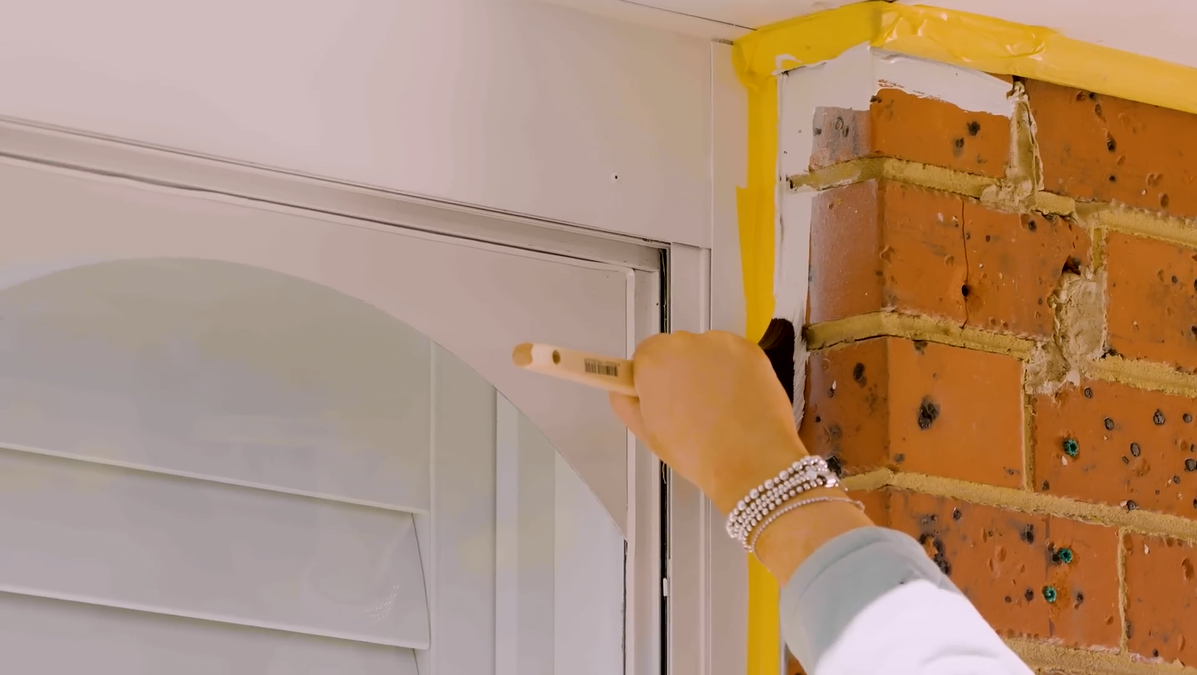
Use masking tape
Use a good quality masking tape along any edges you don’t want to paint, including trims or windows.
For more detailed
For more detailed preparation advice see our guide on how to prepare outdoor surfaces
Before you begin, stir your paint to ensure a consistent colour across the job. Your brush and roller soak up more paint when they’re damp, so wash them prior to use.
Painting your bricks
Cutting in
Cut in around the edges of the wall with a brush — these are the areas the roller cannot easily reach. Maintain a wet-edge by cutting in larger areas in sections as you go. This will help to avoid ‘picture framing’ where unblended cut in areas remain obvious after rolling.

Loading
Using an 18 nap roller, load the tray with a reasonable amount of paint.

‘W’ pattern
Start rolling the wall in an ‘W’ pattern. Continue over the same section until the wall is evenly covered. Roll up to area of 1m2 size or paint the wall in sections.

Before the second coat
Before paint starts to dry, using an unloaded roller, begin in the top left corner of your wall and gently let the roller roll down to the base in a straight line with no pressure. Repeat this action only this time, slightly overlap your last movement so your roller rubs away the line created by the previous stroke. Continue this across the area you have painted. This is called laying off.

Repeat
Once the first coat is dry, approximately 2 hours in normal conditions, repeat the total process again with a second coat. Bare bricks will require the application of a third coat.
Never leave a paint-covered roller exposed to the air for any length of time. Wrap it in plastic cling wrap when you take a break or between coats, and make sure to clean it completely after use.
When you've finished
Once you have completed your project painting don’t forget to turn your leftover paint into hard waste with Dulux Envirosolutions: Waste Paint Hardener, and share your results with us! We love to hear about all of your projects.

Here's what you'll need to get started:
Paint & Accessories
Drop sheets
Medium-size, angled brush
Paint tray
Roller frame
18mm nap roller cover
Paint stirrer
Extension pole for hard to reach areas


Help & Advice
Make confident decisions about your project needs with support from our wide network of painters or speak to one of our Help & Advice consultants now.


Help & Advice
Want to change but don’t know where to start? Dulux Help & Advice are expert consultants who can help you with colour advice, product selection and application, everything you need for your next paint project.
Contact Help & Advice-->